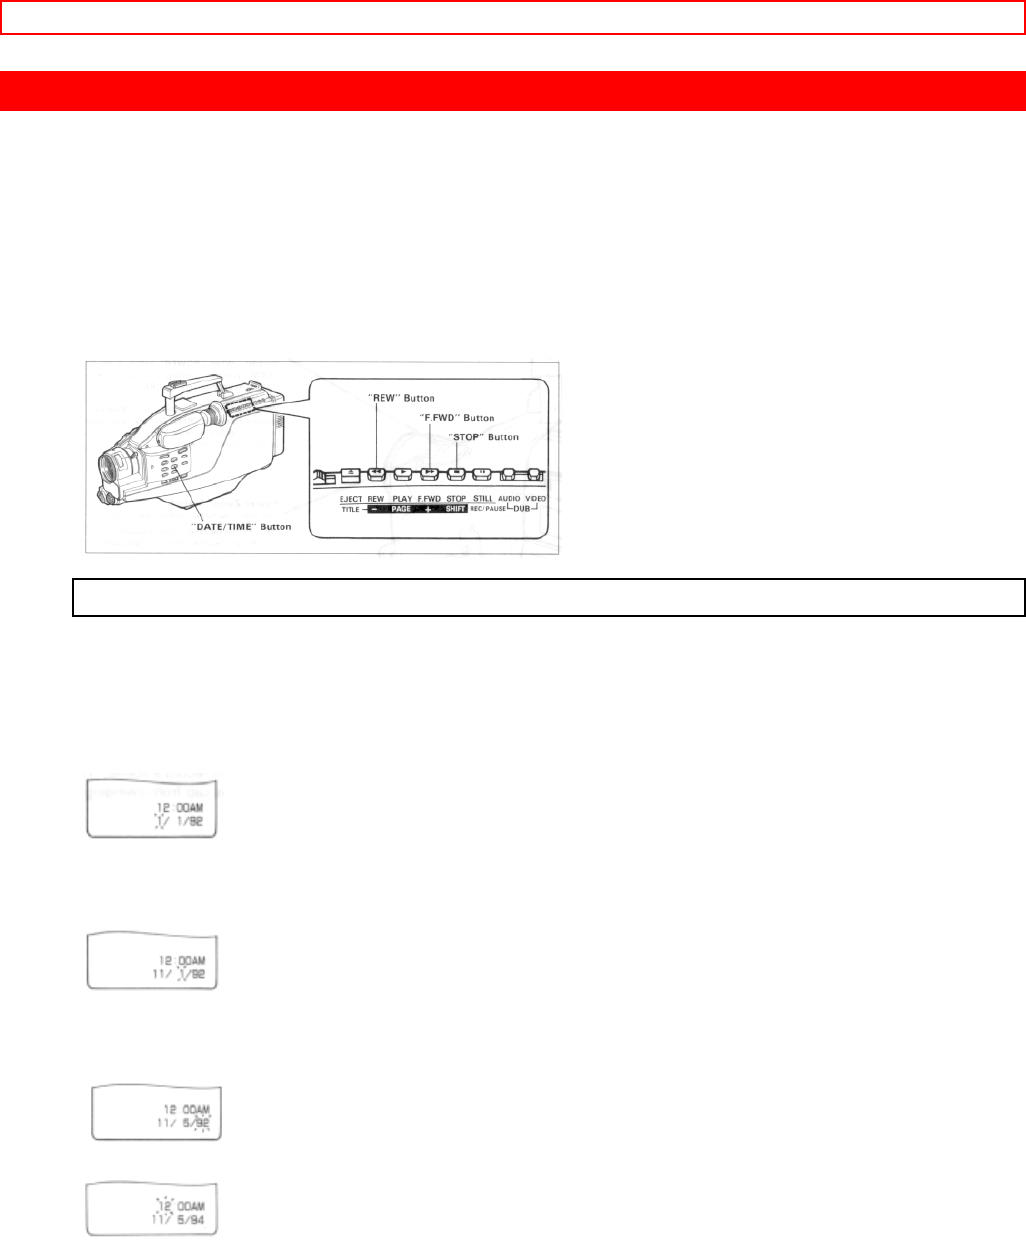
DATE/TIME SETTING
34
DATE/TIME SETTING
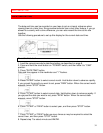
The date and time can be recorded on your tape to act as a handy reference when
viewing them at a later time. Since camera/recorder has a dual timer feature, if you go
abroad to a country with a time difference, you can also record the time at the site
together.
Use the following procedure to set up this display for the current date and time.
To set the first clock
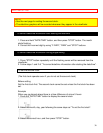
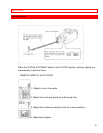
1. Load the camera/recorder's date/time battery as described on page 8.
2. Press and hold the small button on "POWER" switch, and then slide it to "CAM"
position.
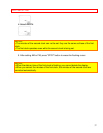
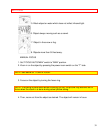
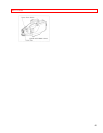
3. Press "DATE/TIME" button.
Date and time appear in the viewfinder and "1" flashes.
4. Press "F.FWD" button to select correct month. Hold button down to advance rapidly.
If you go past the month you want to set, press "REW" button. When the correct month
appears, press "STOP" button.
5. Press "F.FWD" button to select correct date. Hold button down to advance rapidly. If
you go past the date you want to set, press "REW" button. When the correct date
appears, press "STOP" button.
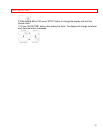
6. Press "F.FWD" or "REW" button to select year, and then press "STOP" button.
7. Press "F.FWD" or "REW" button as many times as may be required to select the
correct hour, and then press "STOP" button.
8. Repeat step 7 to select minute and AM/PM.


