


44
Copying Files (Continued)
Selecting Files for Backup
Preparation:
•
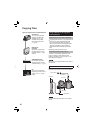
Connect the camera to the DVD burner.
(੬ pg. 42)
•
Slide the mode switch to select mode.
The following screen illustrations are
examples when backing up video fi les.
1
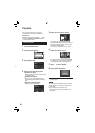
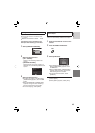
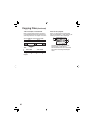
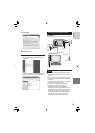
Select [SELECT AND CREATE].
CREATE DVD
CREATE TOGETHER
SELECT AND CREATE
PLAYBACK
CREATE DUPLICATE
SELECT AND CREATE
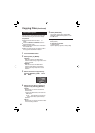
2
Select the desired menu.
CREATE DISC BY DATE
CREATE BY DATE
SELECT AND CREATE
CREATE BY EVENT
CREATE BY PLAYLIST
SELECT FROM SCENES
•
[CREATE BY DATE]:
Files are sorted according to the date
on which they were recorded. Relevant
fi les are displayed in a list. Select the
recording date, and touch the OK button.
•
[CREATE BY EVENT]:
Files are sorted according to event.
Relevant fi les are displayed in a list.
Select the event, and touch the OK
button.
•
[CREATE BY PLAYLIST]:
Files are sorted according to playlist. The
selected playlists are displayed in a list.
1) Select the desired list, and touch the
OK button.
2) Select the insertion point and select
. To select other lists, repeat this
process.
•
[SELECT FROM SCENES]:
Select fi les individually.
1) Select the desired fi le, and touch the
OK button.
2) Select the insertion point and select
. To select other fi les, repeat this
process.
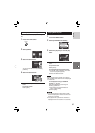
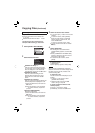
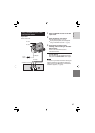
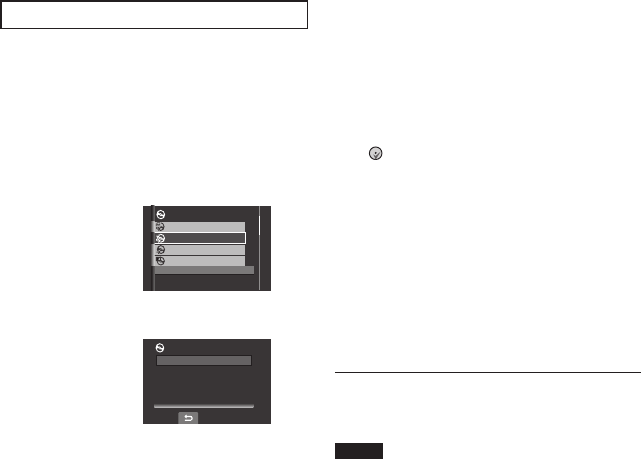
3
Select the desired disc number.
•
If you select [ALL], all discs in the list are
created.
•
To preview scenes, select [CHECK].
When the index screen of individual
scenes appears, select the fi le, and
touch the OK button.
To return to previous screen, select
.
•
mark shows that the disc is created
already.
4
Select [EXECUTE].
•
A disc begins to be created. When
[COMPLETED] appears, touch the OK
button.
•
When [COMPLETED. CHANGE DISC]
appears, change the disc. The second
disc begins to be created.
•
To cancel the disc creation, select
[STOP].
To quit the screen
1) Select [EXIT].
2) When [QUIT?] appears, select [YES].
NOTE
When executing [CREATE BY PLAYLIST],
date/time on the fi le information display shows
the date of copying the fi le, instead of the
actual recording date.
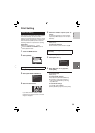
To duplicate a disc
The last creation date is displayed. (Up to
20 fi les)
1) In step 1 (੬ left column), select
[CREATE DUPLICATE].
2) Select the date and touch the OK
button, then go to step 4.
To check whether the DVD disc was
created properly
In step 1 (੬ left column), select
[PLAYBACK], and touch the OK button.