


3
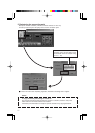
Installation and Setup
Before starting installation and setup
Since a setup of one IP address is necessary for each VN-C2U, follow the procedure given below to
setup each unit (the installation can be made at the same time if the power is left off.
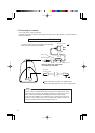
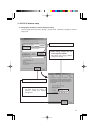
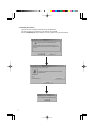
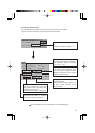
1. Install VN-C2U
When installing in a location where it is difficult to turn the power on and off, install after
completing steps 2 through 5.
2. Connect VN-C2U to a network
(turn the power of VN-C2U on)
3. Set the IP address of VN-C2U
Always contact the network management for the IP address of VN-C2U and use only that which
is assigned or authorized.For setup of a second unit and following, reboot the PC and return to
step 2.
4. Enable the set IP address of VN-C2U
(Turn the power of VN-C2U off once, then turn the power back on)
5. Register the connecting point
Register the IP address information of VN-C2U to the user PC.
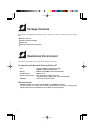
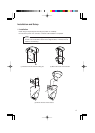
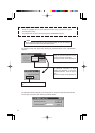
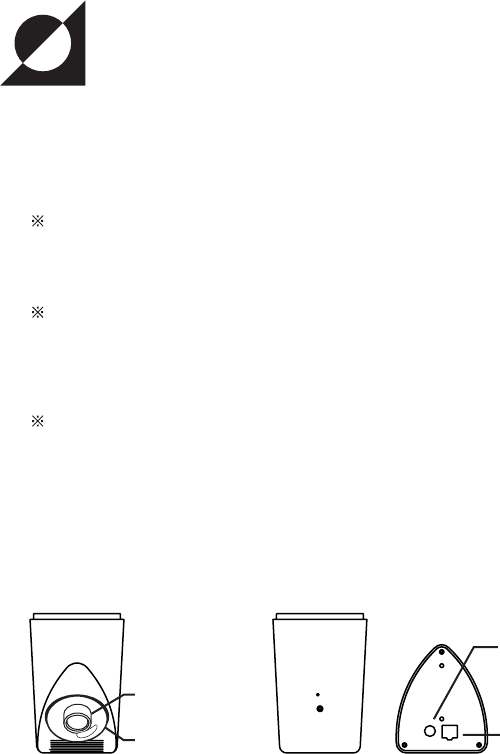
Names of VN-C2U parts
10BASE-T port
DC input jack
Lens cover
Lens block
Front Rear Top