


17
Basic Settings1
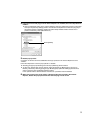
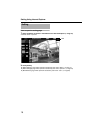
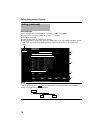
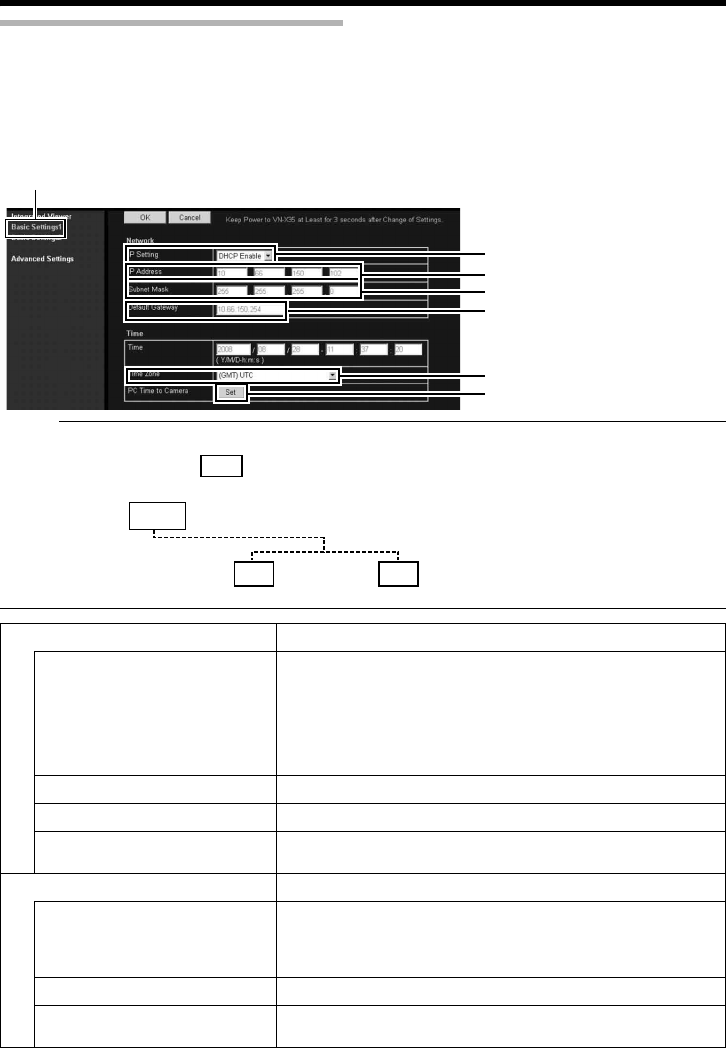
This page is for performing basic setting related to the network.
This page can be used during access using AadminB.
● Click [Basic Settings1].
● Press the [OK] button to enable the new settings.
● If the [OK] button is pressed upon entering an invalid value, a warning message will appear and the
entry will be denied. Press the [Cancel] button to restore the invalid entry to the current value.
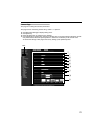
Memo:
● You can open the [Basic Settings1] screen without going through the built-in viewer by entering the
following URL address ( contains model name) in the address field of Internet Explorer.
● Enter the model name in lowercase letters.
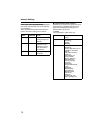
A
E
F
B
C
D
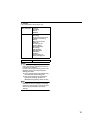
Click
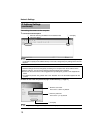
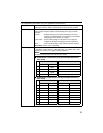
Network
A IP Setting For setting the DHCP client function.
Connect camera to a network environment with a DHCP
server when DHCP is to be enabled. If the DHCP server does
not exist when [IP Setting] is set to ADHCP EnableB, camera
will start running with the 192.168.0.2 IP address and
255.255.255.0 subnet mask in about 2 minutes after startup.
(A Page 6)
B IP Address For setting the IP address of camera.
C Subnet Mask For setting the subnet mask of camera.
D Default Gateway For setting the default gateway of camera.
Enter 0.0.0.0 if you do not want to set a default gateway.
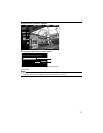
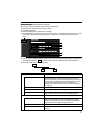
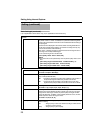
Time
E Time Displays the clock time of camera.
The time transmitted by camera is recorded in the JPEG
header. Discontinuity may occur in the JPEG header's time
immediately before and after changing the time.
F Time Zone For setting the time zone.
G PC Time to Camera Click the [Set] button to set the time of the computer on
camera.