


30
Network Settings
ⅷ Changing the IP address using the Internet Explorer (contiuned)
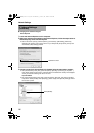
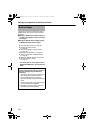
6 The top page of VN-V686U appears
7 The [Basic] page with the IP address settings appears
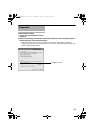
A confirmation screen appears. Press the [OK] button. VN-V686U restarts using the new IP address. It takes
about one minute for the camera to reboot.
M
emo:
● Access from this computer may fail when the IP address of VN-V686U is changed. To enable access
to VN-V686U from the same computer, alter the IP address at the computer accordingly.
IP Address Settings
(contiuned)
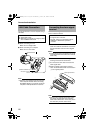
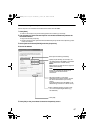
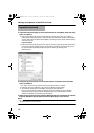
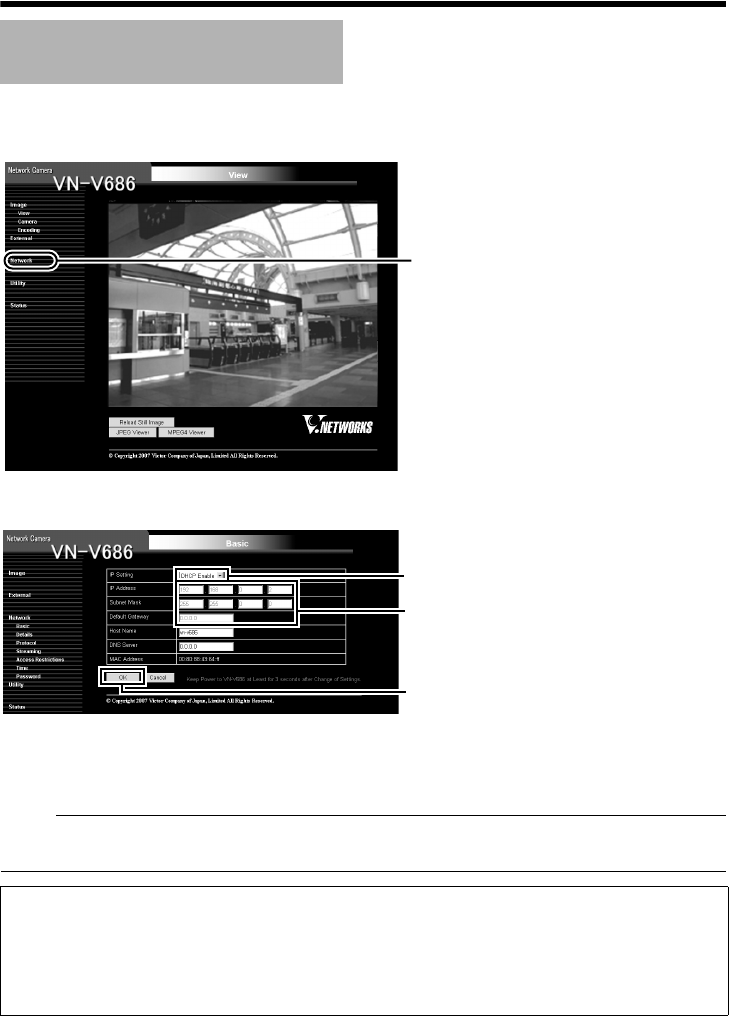
Click on [Network], followed by [Basic] on
the next submenu.
A
B
C
Enter the values you wish to specify in the
[IP Address], [Subnet Mask] and [Default
Gateway] fields.
Click [OK].
Set the [IP Setting] item to [DHCP Disable].
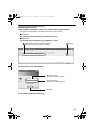
When the display or configuration of the opened screen appears strange, check the computer
settings using the following procedures.
A
Click [Start]-[Control Panel]-[Display] and open the [Display Properties] window
B Click the [Settings] tab in the [Display Properties] window and click the [Advanced] button
C Check that [DPI setting] in the [General] tab has become [Normal size(96DPI)]
D Otherwise, change the setting to [Normal size(96DPI)] and reboot Windows
VN-V686WPU_EN.book Page 30 Wednesday, January 16, 2008 10:39 AM