6-4
6
G Using the SET UP Mode Functions
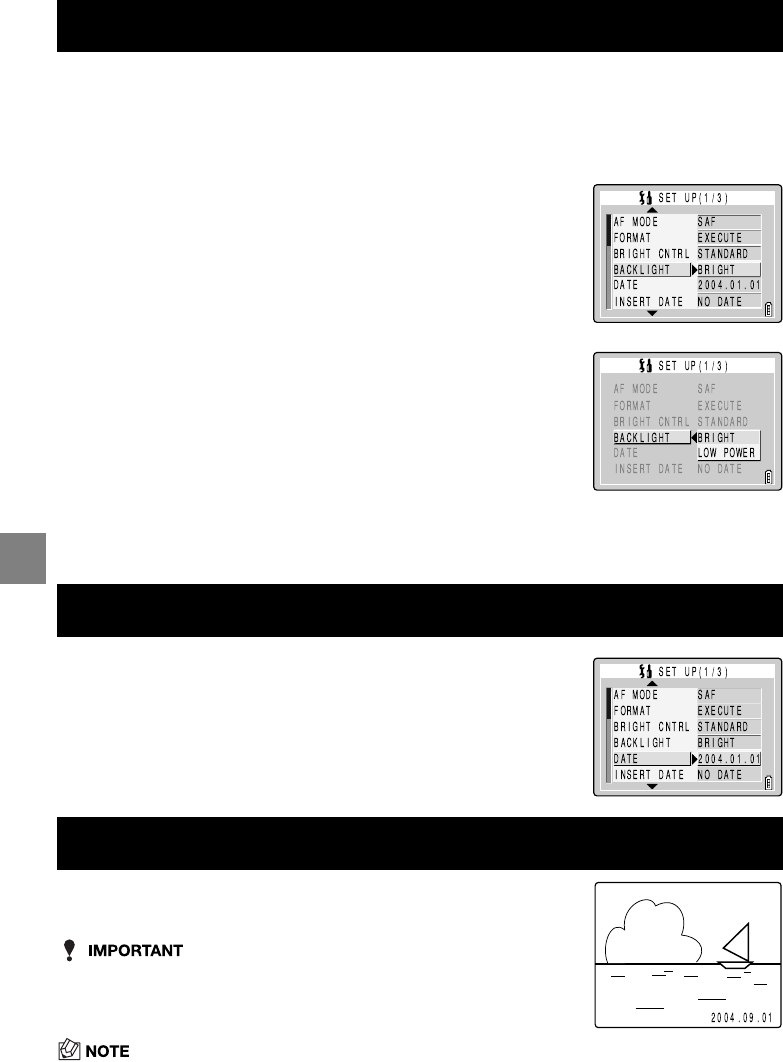
Use this procedure to adjust the brightness of the LCD monitor backlighting.
[BACKLIGHT]
Changing the Monitor Backlighting Brightness
1
Switch the camera on and press
O
or
Q
on the mode
button until the “
G
” icon lights on the mode select LED.
2
Press
U
or
D
on the 4-way button to select
[BACKLIGHT] and then press
R
.
3
Press
U
or
D
on the 4-way button to select
the [BRIGHT] or [LOW POWER] and then
press the OK button
E
.
BRIGHT: Gives brighter backlighting. (default)
LOW POWER: Restricts the backlight brightness to save
power.
4
The selected brightness setting is applied and the screen in
step 2 reappears.
[DATE]
Setting the Camera’s Date and Time
See “Setting the Date and Time” ( p.1-6) in Chapter 1.
[INSERT DATE]
Writing the Date onto Image Files
Use this procedure to specify whether the date is inserted on your
images.
• If images that were shot with [INSERT DATE] set to [WITH DATE]
are then printed with [PRINT] selected for [DATE] in [PRINT
SETTINGS] ( p.5-20), the dates will be printed on top of each
other.
• The date is inserted in the lower-right corner of the image. You cannot
erase an inserted date only.


