Chapter 3
Setting Up and Mounting the Camera
10
Wireless-G Internet Home Monitoring Camera
Placement Options
The Camera can stand on a surface or be mounted on a
wall. Depending on the positioning you want, you attach
the Camera head to its stand at two different points.
Stand Option
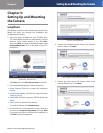
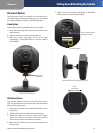
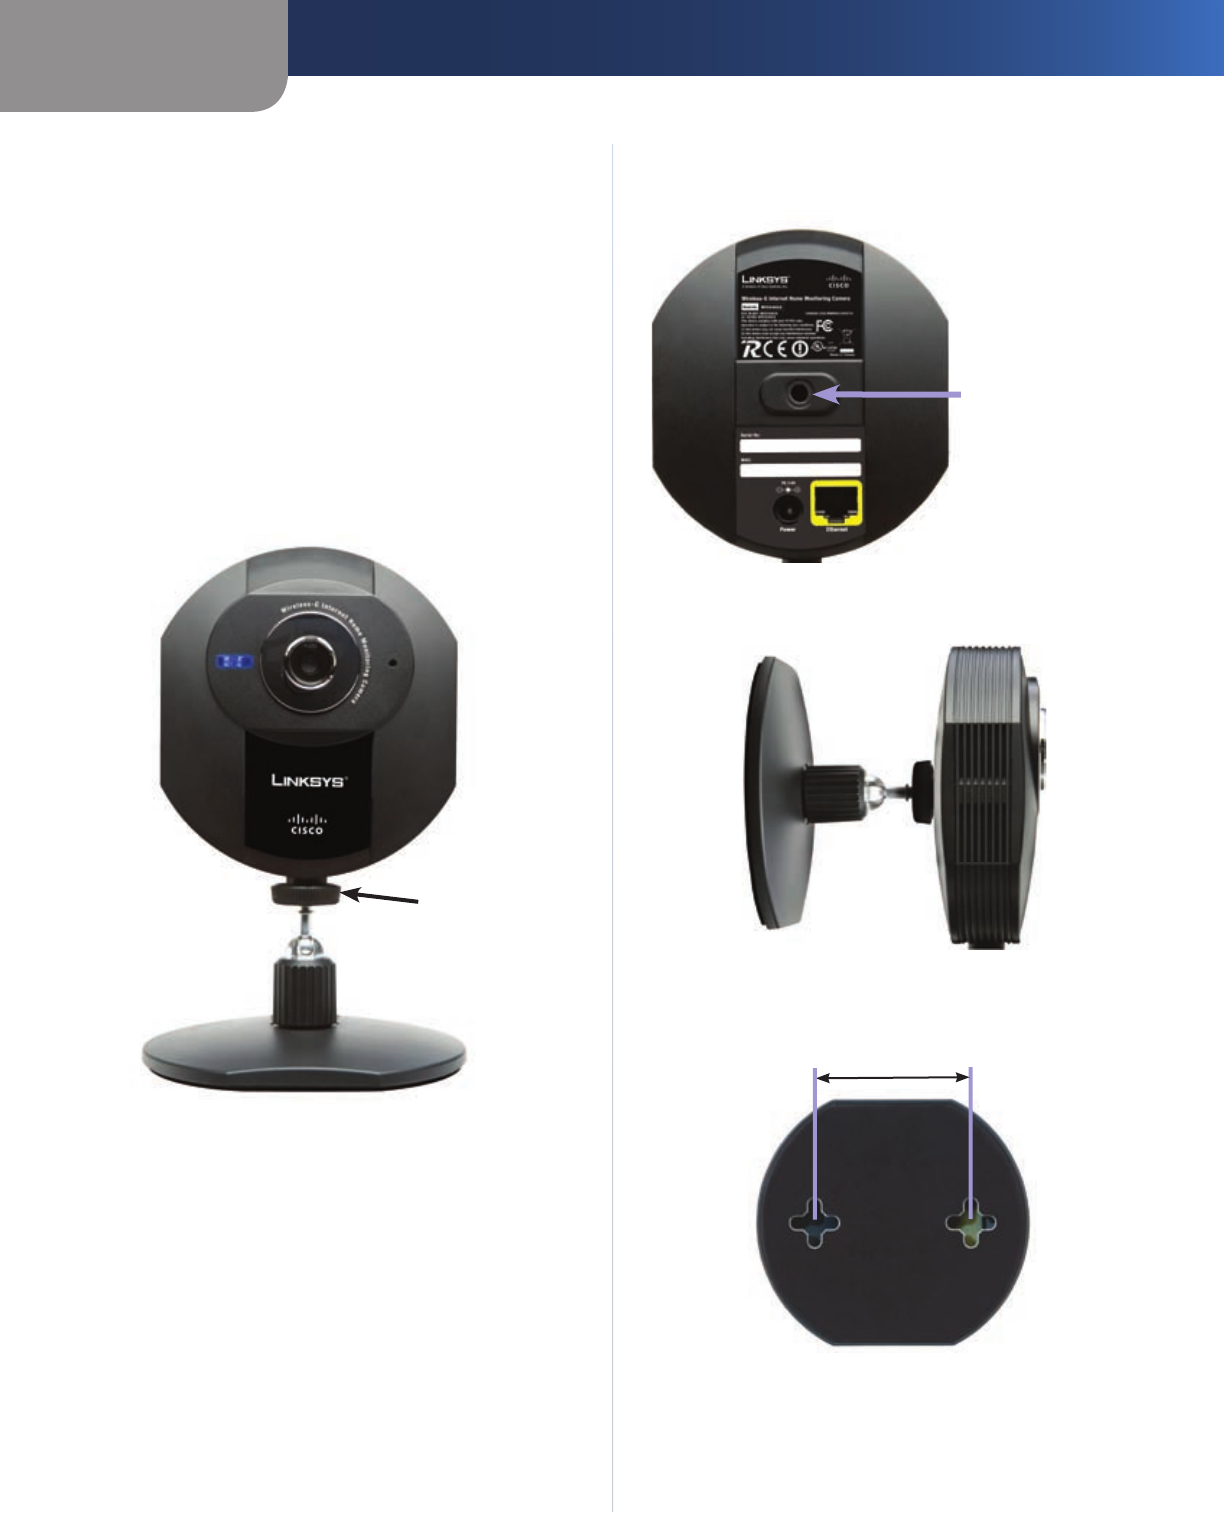
Follow these steps to stand the Camera on a surface.
Insert the screw end of the stand into the hole on the 1.
bottom panel.
Tighten the screw and then the thumbscrew.2.
Place the Camera, and adjust the tilt of its head 3.
accordingly, as described below in section “Camera
Head Tilting”.
Thumbscrew
(tightened)
Camera in Standing Position
Wall Mount Option
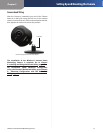
You use the Camera’s stand to mount the Camera on a
wall. The stand has two wall-mount slots that are spaced
58 mm (2,28 inches) apart.
Insert the screw end of the stand into the hole on the 1.
back panel.
Tighten the screw end and then the thumbscrew.2.
Determine where you want to mount the Camera. 3.
Attach two screws to the wall, so that the Camera’s
wall-mount slots line up with the two screws.
Maneuver the Camera so the screws are inserted into 4.
the two slots.
Adjust the tilt of its head accordingly, as described 5.
below in section “Camera Head Tilting”.
Hole for Attaching Stand
(Wall-Mount Option)
Wall Mount Option
Camera in Wall-Mounting Position (side view)
58 mm
(2,28 inches)
Wall-Mount Slots


