


Attaching / Removing Lenses
Attaching Lenses
Attaching the Lens
Before attaching a lens to the camera body,
the mirror in the body must be set in the
down position and the shutter of the lens
cocked.
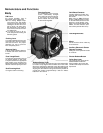
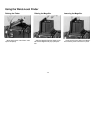
Setting the Mirror
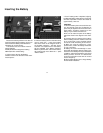
1. Remove the Body Cap from the camera.
2. Make sure the mirror is set (lowered). If
the mirror is in the up position, lower it by
pushing the Cocking Lever as far as it will go
toward the front of the camera body.
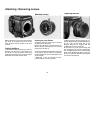
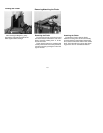
Cocking the Lens Shutter
1. Remove the Rear Lens Cap by rotating
the bayonet ring clockwise.
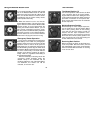
2. If the lens shutter is not cocked, firmly ro-
tate the Shutter Cocking Pins as far as they
will go to the red dot “A”.
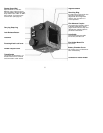
• Moving the Shutter Cocking Pins only as far
as the green dot will result in incomplete
shutter cocking. Be sure to rotate them as far
as the red dot.
• Whenever a lens is removed from the
camera body, it is already cocked.
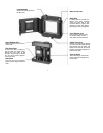
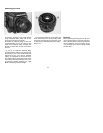
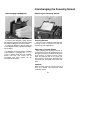
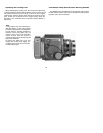
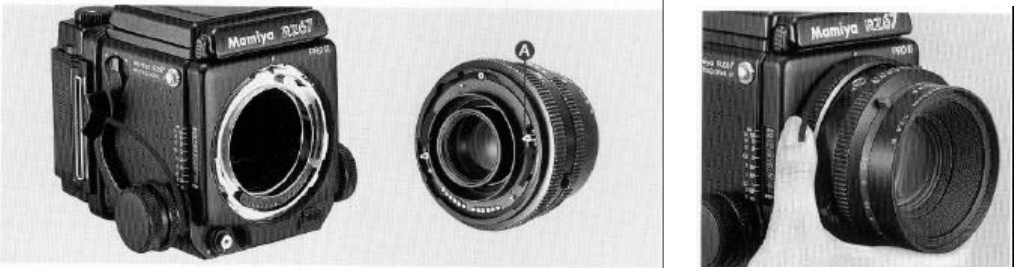
1. With the front of the lens facing you, ro-
tate the Bayonet Ring counterclockwise as
far as it will go (the white dot on the
Bayonet Ring will be aligned with the
central index on the lens mount).
2. Seat the lens on the camera body with
the red index line on the lens mount facing
the red alignment dot of the camera body.
Next, rotate the Bayonet Ring of the lens
firmly in a clockwise direction, securing the
lens to the camera body.
12