47EN
5
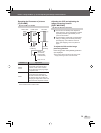
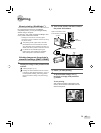
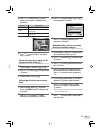
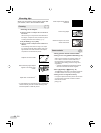
Use LM to select the [X] (date
print) screen option, and press the
E button.
Submenu 2 Application
NO This prints the image only.
DATE
This prints the image with the
shooting date.
TIME
This prints the image with the
shooting time.
OK
SETBACK
MENU
PRINT ORDER
SET
CANCEL
1
(
1
)
1
(
1
)
6
Use
LM
to select [SET], and press
the E button.
Reserving one print each of all
images on the card [U]
1
Follow Steps 1 and 2 in [<] (p. 46).
2
Use LM to select [U], and press the
E button.
3
Follow Steps 5 to 6 in [<].
Resetting all print reservation
data
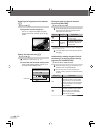
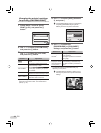
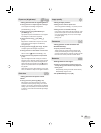
1
Set the mode dial to q, and then
press the m button to display the
top menu.
2
Use LMNO to select [
L
PRINT
ORDER], and press the E button.
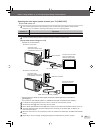
3
Use LM to select either [<] or [U],
and press the E button.
OK
SETBACK
MENU
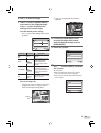
PRINT ORDER SETTING
PRINT ORDERED
RESET
KEEP
4
Use LM to select [RESET], and
press the E button.
Resetting the print reservation
data for selected images
1
Follow Steps 1 and 2 of “Resetting all
print reservation data” (p. 47).
2
Use LM to select [<], and press the
E button.
3
Use
LM
to select [KEEP] and press
the E button.
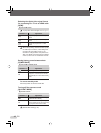
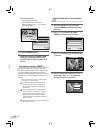
4
Use NO to select the image with the
print reservation you want to cancel.
Use LM to set the print quantity to
“0”.
5
If necessary, repeat Step 4, and then
press the E button when fi nished.
6
Use LM to select the [X] (date
print) screen option, and press the
E button.
The settings are applied to the remaining images with
the print reservation data.
7
Use
LM
to select [SET], and press
the E button.
●


