


MEN U 1 / 2
S HQ / H Q / S Q
A E
+
/
–
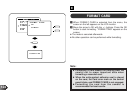
E R A S E AL L
F O RM A T C A R D
NEX T
E ND
ERASING
: ER AS E A L L
O K
CA NC E L
122
E
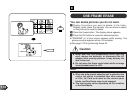
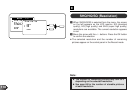
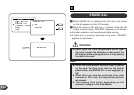
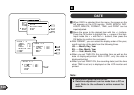
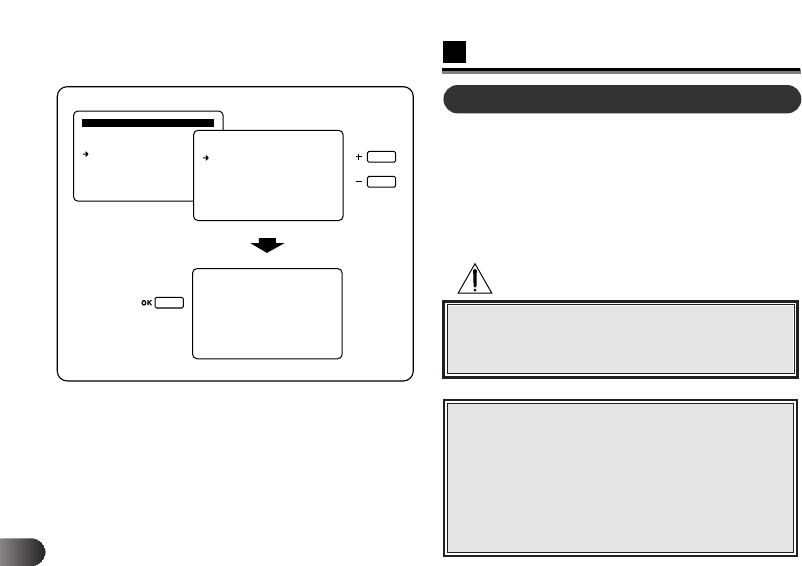
ERASE ALL
1 When ERASE ALL is selected from the menu, the screen
on the left appears on the LCD monitor.
2 Move the arrow to OK with the +/– buttons. Press the OK
button to start erasing. “ERASING” appears on the screen.
● No other operation can be performed while erasing.
● If there are no pictures recorded in the card, “ERASED”
appears on the screen.
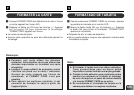
◆ When the write-protect adhesive seal is placed
on the card, the Card error mark on the control
panel blinks, and ERASE ALL is not engaged. (p.
68)
◆ When there are pictures protected from other
cameras or PCs, only the unprotected pictures
are erased.
◆ The erasing time varies depending on the
amount of images in the SmartMedia.
Note:
◆ Never open the Card compartment cover, eject
the card, remove the batteries or disconnect the
AC adapter while erasing pictures. It may destroy
the data in the card.
Caution: