


MENU 1 / 2
SH Q/ H Q / S Q
AE
+
/
–
E RA S E A L L
F ORM A T C A RD
NE X T
EN D
:D ATE 1 / 2
YEA R
M O N T H
D A Y
HOUR
M I N U T E
NE XT
E ND
MENU 2 / 2
D A TE
B R I GHTNESS
NE X T
EN D
:D ATE 2 / 2
F OR M A T
T I ME
P R INT
NE XT
E ND
<9 7>
< 1>
< 1>
< 0 >
< 0 0 >
< J P >
< O N >
< O N >
:D ATE 2 / 2
F OR M A T
T I ME
P R INT
NE XT
E ND
< J P >
< O N >
< O N >
126
E
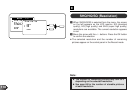
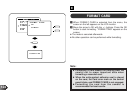
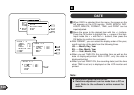
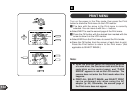
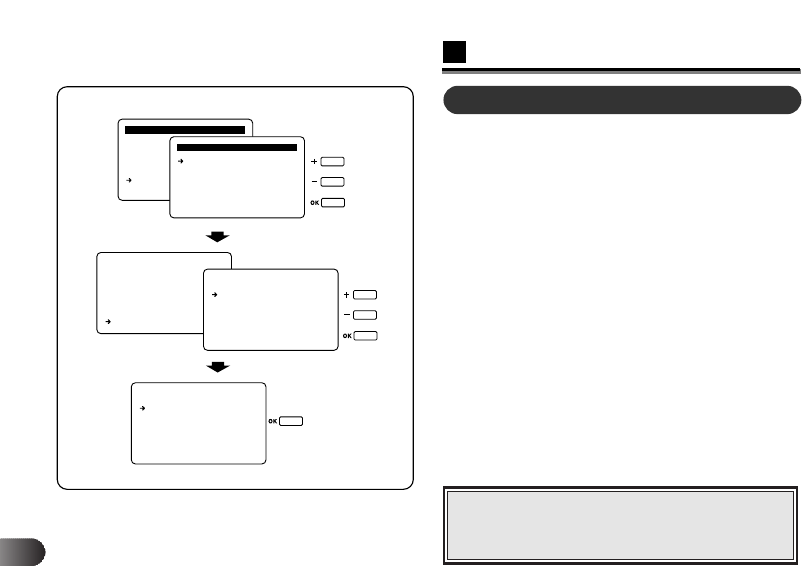
DATE
1 When DATE is selected from the menu, the screen on the
left appears on the LCD monitor. YEAR, MONTH, DAY,
HOUR, MINUTE, FORMAT, TIME, and PRINT can be
input/adjusted.
2 Move the arrow to the desired item with the +/– buttons.
Press the OK button to highlight the < > space of the item.
Input inside the < > with the +/– buttons, then press the
OK button to confirm the command.
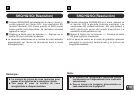
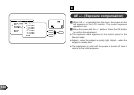
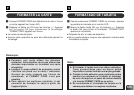
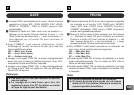
● With FORMAT, you can select the display order of the year,
month and day of the date from the following three.
US.......Month, Day, Year
EU.......Day, Month, Year
JP........Year, Month, Day
● When you set TIME ON, the recording time as well as the
date is displayed/printed. With it OFF, only the date is
displayed/printed.
● When you set PRINT ON, the recording date (and the time
when TIME is set on) is displayed on the LCD monitor and
printed.
◆ Nonexistent dates cannot be set.
◆ Date/time adjustment can be made from a PC as
well. Refer to the software’s online manual for
details.
Note: