3332
The light intensity adjustment must be set to ON in the
custom setup operation (page 47).
• The indicator appears in the control panel.
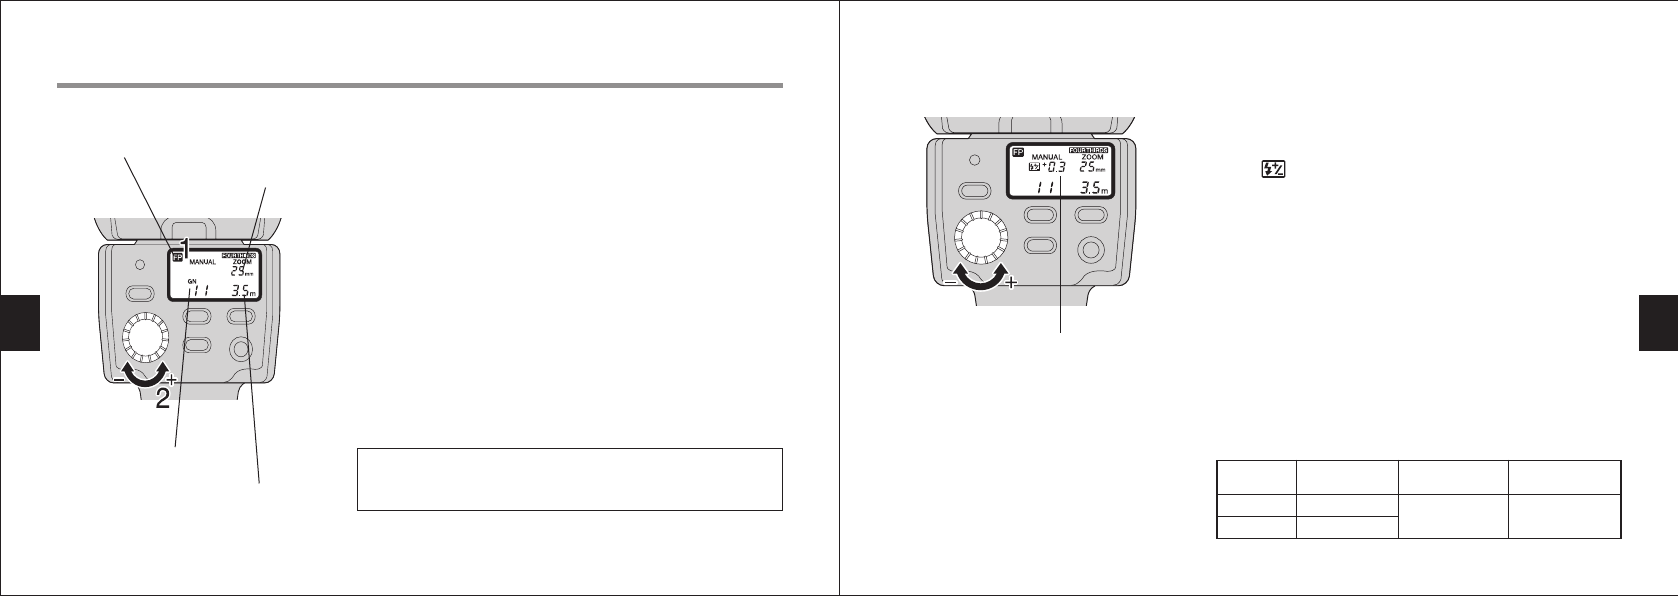
1.
Tu rn the select dial to choose a light intensity adjustment value.
0 +0.3 +0.7
0 –0.3 –0.7
2. The display shows the light intensity adjustment value ex-
cept when the value is 0. In this case, the displayed guide
number (GN) and optimum shooting distance correspond
to an adjustment value of 0.
3. Even if the camera’s flash adjustment mode is selected,
only the FL-36’s adjustment setting will work. The camera’s
setting will not work.
[Example]
Light intensity adjustment
The flash light intensity can be adjusted between +0.7 and –0.7.
Light intensity adjustment value
ZOOM indicator
Displayed according to the
focal distance of the lens.
Guide number (GN)
Optimum shooting distance
1. Tu rn the select dial to set the guide number (GN). Together
with the optimum shooting distance according to the cam-
era setup.
2. Tu rn dial A to set the guide number (GN).
Set the guide number (GN) so that the optimum shooting
distance is equal to the subject distance.
When the optimum shooting distance is 0.6 m (0.5 m in
case of close-up flash) or less, the displayed figure blinks
to warn that the subject is located outside the flash light
emission area. (see page 55.)
The optimum shooting distance varies according to the
camera setup (ISO speed, lens iris (F), lens focal length
(ZOOM) and shutter speed). See page 54 for details.
Memo:
The optimum shooting distance can be calculated with the
following formula.
Optimum shooting distance = Guide number (GN)/Lens iris (F)
<FP MANUAL>
In this mode, Super FP emission is performed at the set light intensity.
Selected
adjustment value
Adjustment value
displayed on FL-36
Actual light intensity
adjustment
FL-36 +0.3
+0.3 +0.3
Camera +0.3
FP MANUAL indicator


