27
Setting the calendar
1
Set the camera recorder’s POWER switch to
ON.
Presented below is a sample setting where the
calendar is set to December 7, 2002 and the
time is set to 5:20 PM.
8
Press the MENU button three times to
release the menu mode.
2
Select YES as the setting for the CLOCK
SET item on the setting menu OTHER
FUNCTIONS screen.
OFor details on the menu operations, refer
to page 37.
3
Tilt the OPERATION lever in the 3 or 4
direction and set YEAR to 2002.
(If the remote control unit is used, press the
“M” button among the SET buttons.)
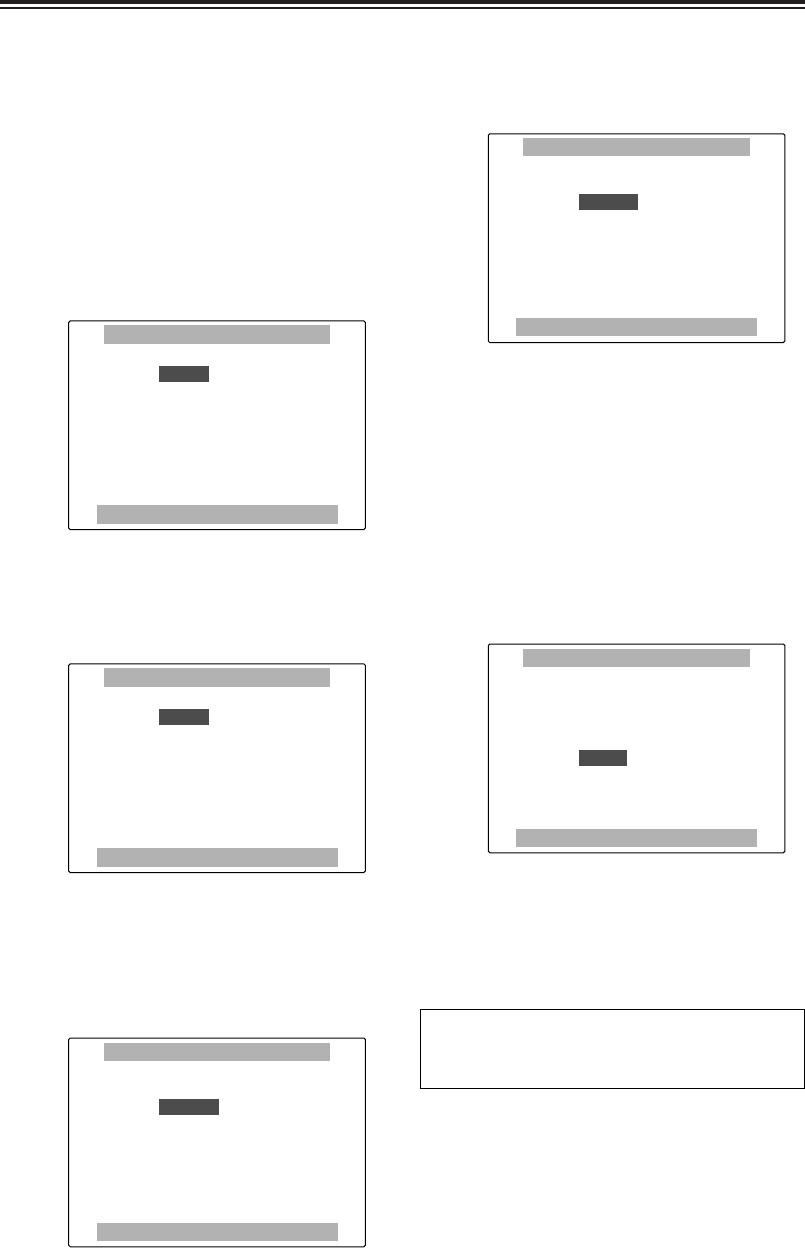
22000022
MONTH APR
DAY 24
HOUR 13
MIN. 7
PUSH MENU TO RETURN
YYEEAARR
CLOCK SET
4
Press “
;
” of the OPERATION lever, and
move the setting item to MONTH.
(If the remote control unit is used, press the
“B” button among the SET buttons.)
YEAR 2002
AAPPRR
DAY 24
HOUR 13
MIN. 7
PUSH MENU TO RETURN
MMOONNTTHH
CLOCK SET
5
Tilt the OPERATION lever in the 3 or 4
direction and set MONTH to DEC.
(If the remote control unit is used, press the
“M” button among the SET buttons.)
YEAR 2002
DDEECC
DAY 24
HOUR 13
MIN. 7
PUSH MENU TO RETURN
MMOONNTTHH
CLOCK SET
YEAR 2002
MONTH DEC
DAY 7
HOUR 17
2200
PUSH MENU TO RETURN
MMIINN
..
CLOCK SET
6
In the same way, press “;” of the
OPERATION lever, and move the setting
item to DAY, HOUR and MIN.
(If the remote control unit is used, press the
“B” button among the SET buttons.)
7
Similarly, tilt the OPERATION lever in the 3
or 4 direction and set 7 for DAY, 17 for
HOUR and 20 for MIN.
(If the remote control unit is used, press the
“M” button among the SET buttons.)
The 24-hour system is used to display the
hours.
The year can be set from 2000 to 2089.
22000000
MONTH APR
DAY 24
HOUR 13
MIN. 7
PUSH MENU TO RETURN
YYEEAARR
CLOCK SET
An error will develop in the time, so check
whether the correct time is displayed before
shooting.


