111
VQT3Y04
When the status indicator is flashing at a
particularly fast or slow rate, the
following should be considered.
Flashing with approx. 4 second period
(off for approx. 2 seconds, on for approx.
2 seconds):
≥ When the battery is over discharged or the
temperature of the battery is too high or
low. It can be charged, but it may take a
few hours to complete the charging
normally.
≥ It will flash in approx. 2 second intervals
when normal charging resumes. Even in
such cases, it may start flashing in
approx. 4 second intervals until charging
is completed depending on the conditions
of use.
Flashing with approx. 0.5 second period
(off for approx. 0.25 second, on for
approx. 0.25 second):
≥ The battery is not charged. Remove the
battery from the unit, and try charging
again.
≥ Check that the terminals of the unit or
battery are not dirty or covered with a
foreign object, and connect the battery
correctly once again. If a foreign object or
dirt is present, turn off the unit before
removing.
≥ The battery or environment is at an
extremely high or low temperature. Wait
until the temperature has returned to an
appropriate level and try charging again. If
you are still unable to charge, there may
be a fault in the unit, battery or AC
adaptor.
Off:
≥ Charging has finished.
≥ If the status indicator stays off despite the
charging being unfinished, there may be a
fault in the unit, battery or AC adaptor.
Refer to page 109 for details on the
battery.
When disposing of or giving away the SD
card, note that:
≥ Formatting and deletion of this unit or
computer only changes the file
management information and does not
completely delete the data in the SD card.
≥ It is recommended that the SD card is
physically destroyed or the SD card is
physically formatted using this unit when
disposing of or giving away the SD card.
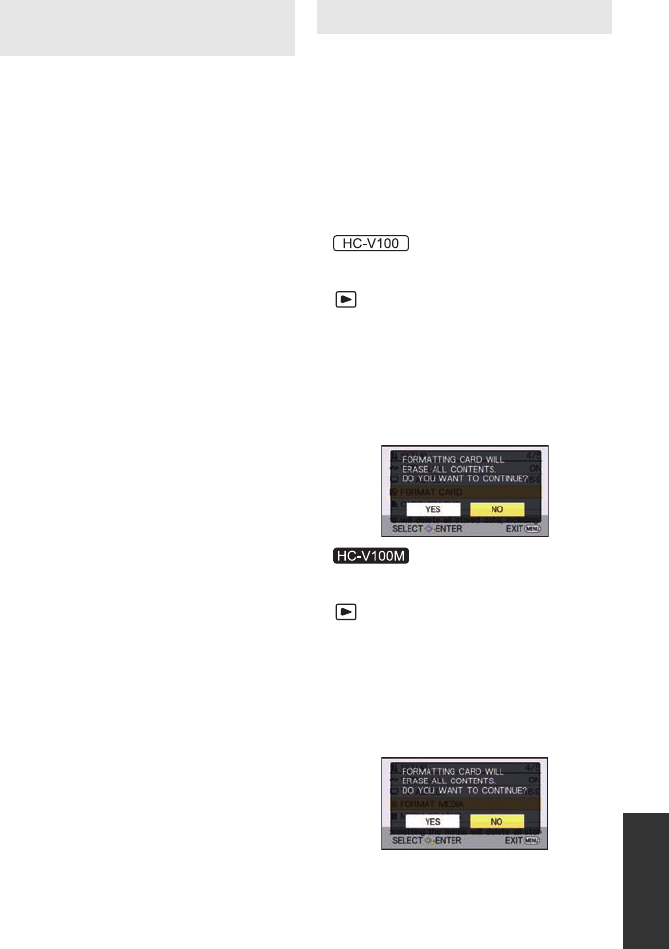
For the physical format, connect the unit to
the AC adaptor, set the mode switch to
, select [SETUP] # [FORMAT CARD]
# [YES] from the menus, and then press
and hold down the Optical image
stabilizer/Delete button for approximately
3 seconds on the screen below. When the
SD card data deletion screen appears,
select [YES], and then follow the on-
screen instructions.
For the physical format, connect the unit to
the AC adaptor, set the mode switch to
, select [SETUP] # [FORMAT
MEDIA] # [SD CARD] from the menus,
and then press and hold down the Optical
image stabilizer/Delete button for
approximately 3 seconds on the screen
below. When the SD card data deletion
screen appears, select [YES], and then
follow the on-screen instructions.
≥ The customer is responsible for the
management of the data in the SD card.
About status indicator during
charging
About the SD card
HC-V100&V100MP_PC_PU_VQT3Y04_mst.book 111 ページ 2012年1月5日 木曜日 午前10時20分


