


78
VQT3Y41
With the 3D Conversion Lens (optional) attached, you can record life-like and powerful 3D
image. To view 3D image, a television that supports 3D is required.
≥ In the unit, the recordable 3D images are side-by-side format (2-screen structure).
≥ Since the 3D image is recorded in side-by-side format, the recorded 3D image is not of
high definition picture quality.
∫ Recording 3D image
When using for the first time, be sure to adjust the 3D Conversion Lens attachment position.
≥ Turn off the unit.
≥ Change the mode to
or .
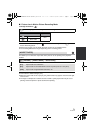
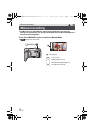
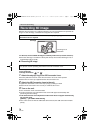
1 Attach the step up ring to the 3D Conversion Lens.
≥ Securely slide the lock lever of the 3D Conversion Lens to the LOCK position.
≥ Attach the Lens front cap supplied with the 3D Conversion Lens.
2 Attach the 3D Conversion Lens to the unit.
≥ Tighten the attachment screw of the step up ring by rotating to LOCK.
≥ Attach the 3D Conversion Lens securely so it will not tilt or move.
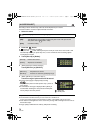
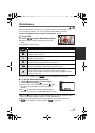
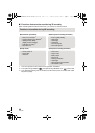
3 Turn on the unit.
≥ Turn on with the unit in a horizontal state.
≥ The 3D Conversion Lens adjustment mode screen will appear automatically after
performing the initial setting.
≥ If the 3D Conversion Lens adjustment mode screen does not appear automatically,
set from the menu.
([SETUP] # [3D CONV. LENS SETUP])
≥ If the unit is turned on with the USB cable still connected, the USB connection will take
priority.
Advanced (Recording)
Recording 3D image
To attach the 3D Conversion Lens to this unit, a step up ring supplied with the 3D
Conversion Lens is required.
For details on how to attach and how to adjust the attachment position of the 3D Conversion
Lens, please read the operating instructions for the 3D Conversion Lens.
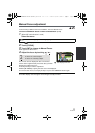
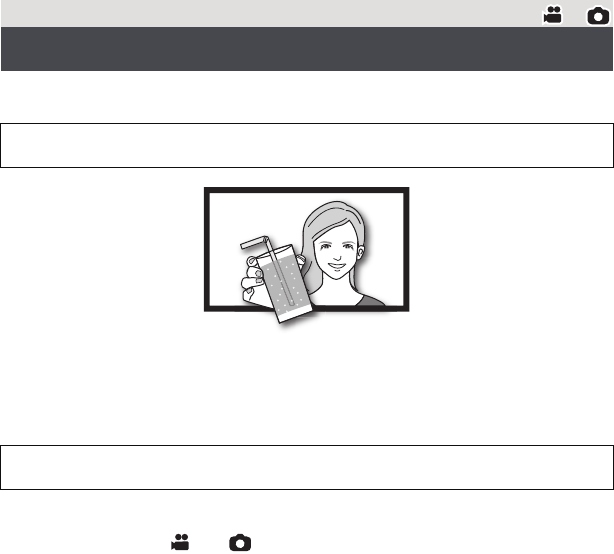
3D image
The image is an
illustration.
HC-V700M&V700-PPCPU-VQT3Y41_mst.book 78 ページ 2011年12月28日 水曜日 午前10時21分