30
Getting Started
1
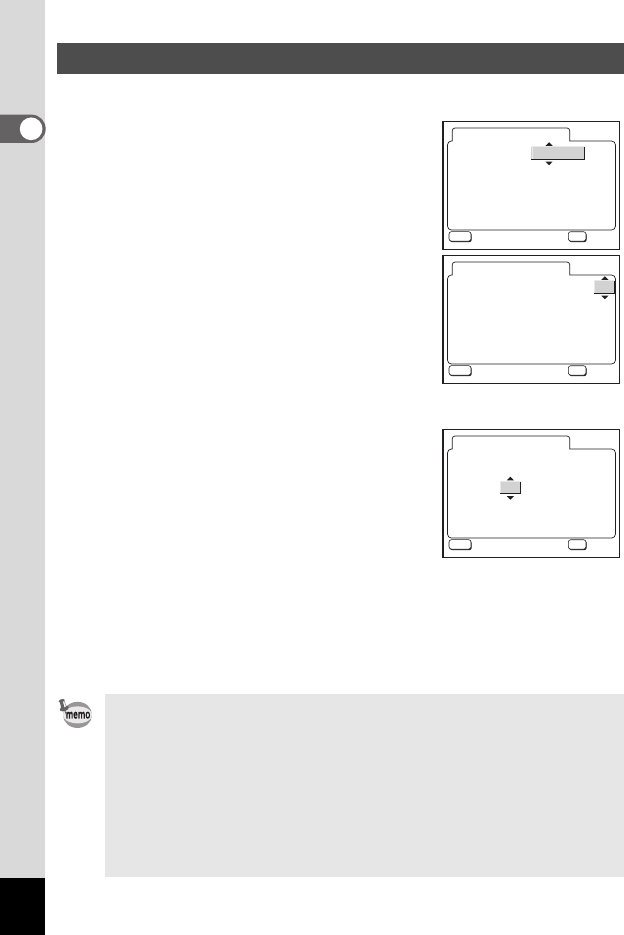
Set the current date and time and the display style.
1 Press the four-way controller (23),
to select the date display style.
2 Press the four-way controller (5).
The frame moves to [24H].
3 Press the four-way controller (23),
to select the time display style.
Select [12H] to display the time in a 12 hour
format, or select [24] to display the time in a
24 hour format.
4 Press the four-way controller (5).
The frame moves to month.
5 Press the four-way controller (23)
to change the month.
Set the day and year in the same manner.
(Pressing the four-way controller (4) moves
the frame to the previous item.)
If you select [12H] in step 3, the setting switches between AM and PM
corresponding to the time.
6 Press the OK button.
The camera is ready to take pictures.
Setting the Date and Time
• When you finish the settings and press the OK button, the camera
clock is reset to 00 seconds.
• To set the exact time, press the OK button when the time signal
(on the TV, radio, etc.) reaches 00 seconds.
• You can change the settings after they have been made. Refer to the
following pages for operation procedures.
[Language]: “Changing the Display Language” (p.126)
[City] [DST]: “Setting the World Time” (p.122)
[Time]: “Changing the Date and Time” (p.120)
Date Adjust
mm/dd/yy
24H
Date Style
//
01
00 00
:
01 2005
MENU
OK
OK
OK
Exit
Exit
24H
//
01
00 00
:
Date Adjust
mm/dd/yy
Date Style
01 2005
MENU
OK
OK
OK
Exit
Exit
12H
//
01
12 00
:
AM
Date Adjust
mm/dd/yy
Date Style
01 2005
MENU
OK
OK
OK
Exit
Exit
