146
6
Playback/Deleting/Editing
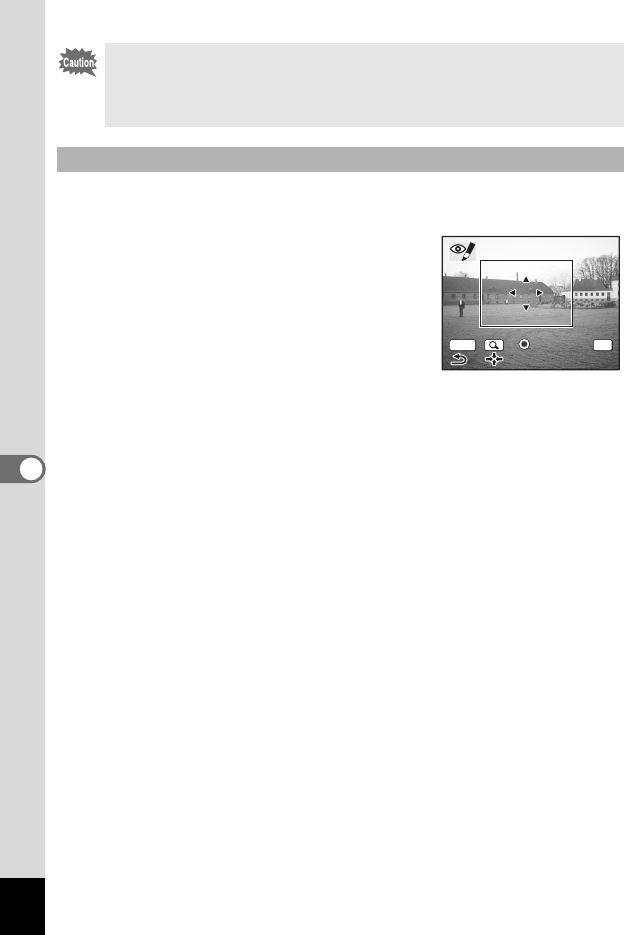
Manually compensate for red-eyes in images if the red-eyes were not
automatically identified.
5 Press the OK button.
“Select the area to compensate” message is
displayed and the Specify compensation
area screen appears.
6 Select the area for red-eye
compensation
Four-way Controller : Moves the selected
area in the specified direction.
Zoom Button w : Reduces the selected area.
x : Enlarges the selected area.
7 Press the Green Button
Red-eye compensation processing is done. If no message appears
and the original screen appears, then processing was completed
successfully. Go to step 8.
If the “Cannot process correctly” error message is displayed, redo the
process from step 5.
8 Press the OK button.
The overwrite confirmation screen appears.
9 Use the four-way controller (23) to select [Overwrite]
or [Save as].
If the image is protected, it is automatically saved as a new file.
10 Press the OK button.
After red-eye compensation is done to an image it is saved at the
original recorded pixels and quality level.
• The red-eye compensation function cannot be used on movies. An
error message appears in Step 4.
• The red-eye compensation function can only be used with still
pictures taken with this camera.
Manual compensation for red-eyes
OK
MENU
Fix R-eye
Complete
Fix R-eye Complete
