


This Chapter describes installation of the Philips PCA635VC software, including the Videogram Creator and Player soft-
ware. Due to the true 32-bit nature of the software, the installation will only work under Windows 95.
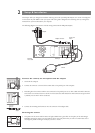
STEP 1: Re-Connect the Power
During the hardware setup we instructed you to unplug the computer system from the wall outlet or power strip. If you
did this, please plug the system’s power back in. Next, plug the power adapter of the camera into a wall outlet or power
strip.
STEP 2: Turn On the System and Launch Windows 95
Turn on your computer system in the normal manner. Windows 95 will boot automatically if it is installed to its default
configuration.
If the system does not power on, make sure no connections came loose during installation of the Philips PCA635VC. If
something is loose, reconnect it and try powering on again. Be sure to pay special attention to the monitor and power
cords-check to see that they are still connected to the back of the computer and/or plugged in to the power strip.
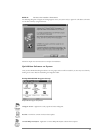
STEP 3: Insert CD-ROM
Place the Philips PCA635VC CD-ROM into your CD-ROM drive (typically D:) referred to as X: for the remainder of
these steps. If your copy of Windows 95 supports Auto Play, the dialog box in Step 6 will automatically appear in a few
seconds. Otherwise, proceed to Step 4.
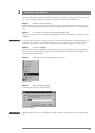
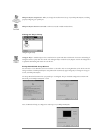
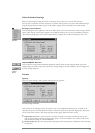
STEP 4: Click the “Start” Button and then “Run”
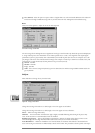
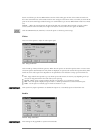
STEP 5: Enter Program Name
In the Dialog box that appears, type the following:
Remember which drive you put the CD-ROM into in STEP 3. Replace X: with that drive letter or you may receive an
error.
10
Windows Start Bar
Windows Run dialog Box
Software Installation
3