


A great way to enhance any video capture is to add sound. This is not limited to just video. It is easy to add music or nar-
ration to a snapshot as well. This Chapter walks you through a step-by-step procedure on adding sound to a snapshot or
video capture.
Before starting, a captured video snapshot or image must be visible in the video window in the main menu of the
Videogram Creator program. This will be referred to as “current video clip”.
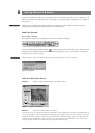
Add Live Sound
Record Audio or Narration
Recording live sound requires a functioning sound card to be installed (not included).
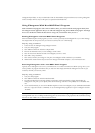
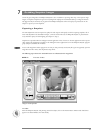
Using the Sound Toolbar (launched by clicking ), record your narration or sound and click on the “Back To” button.
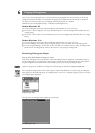
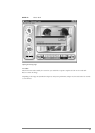
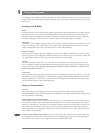
You may save the recorded sound or narration as a .WAV file by clicking on “Save...” or click “Replace” to add the live
sound to the
current video clip or image.
Clicking “Replace” will erase and overwrite any previously recorded sound in the current video clip.
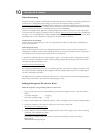
Add Pre-Recorded Sound
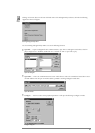
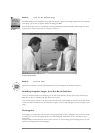
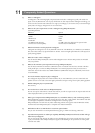
STEP 1: Select Insert Audio under the Edit menu
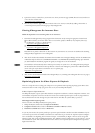
STEP 2: Select an Audio File to Insert
Select the file you just recorded, a file previously recorded file, or a file available from a royalty-free CD-ROM (please do
not violate copyright laws by using copyrighted audio files without permission of the creators or owners). After you have
seleted the file, click the “Back To” button on the Sound Tool Bar as described on Page 73 under the “Add Live Sound”
section and then click “Replace” to add the sound to your video or snapshot image. Remember to have a video clip or
image in the video window of the Videogram Creator application before starting.
35
Adding Narration & Audio
8
Sound Toolbar (see Chapter 4 for more detail)
Replace/Save Dialog Box
Edit Menu - Videogram Creator Application