177
Installing Software
18
Installing DC Software
Follow the steps below to install DC software.
1
Select [CD-ROM] for [USB Connection].
• In the setup menu, select [USB Connection] (G P.102), then highlight
[CD-ROM] and press MENU/OK.
2
Turn the camera off.
3
Connect the supplied USB cable to the computer.
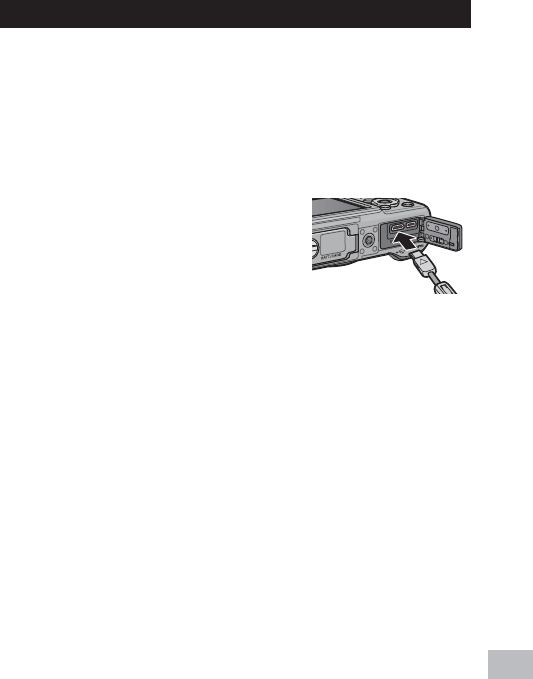
4
Connect the cable to the camera.
• The camera will turn on and the installer
will launch automatically (if the installer
does not launch, navigate to the drive
corresponding to the camera and
double-click “AUTORUN.EXE”).
5
Click [Install DC Software].
• In addition to DC software, you can also install EX1 for Client, EX1
for Server, or EC1 by clicking the appropriate option. To open the
pdf file containing the software manual, click [Browse User’s Manual
(Software Version)].
6
Select a language.
• You will be prompted to choose applications for installation.
7
Follow the on-screen instructions.
• Accept the license agreement and follow the on-screen instructions
to install the selected applications. If you are installing DL-10, click
[Allow Access] (Windows 7 and Windows 8.1) or [Unblock] when
prompted.
8
Restart the computer.
• When prompted, select [Yes, restart my computer now] and click
[Finish] to restart the computer. A Windows security alert will be
displayed when the computer restarts.


