EN - 15
When using Manual ash
Use the following formula to select the aperture value.
Aperture value = Guide No. of this ash unit ÷ Distance between
the main light source and the subject
For details about this ash unit's guide No., refer to “Guide No.
Table (ISO 100)” on the page EN - 18.
Cameras other than Type R
Using the Mode select button, set the ash mode to SLAVE1 or
SLAVE2, according to the type of the camera's built-in ash. In
this case, the camera's Red-eye ash function is not available.
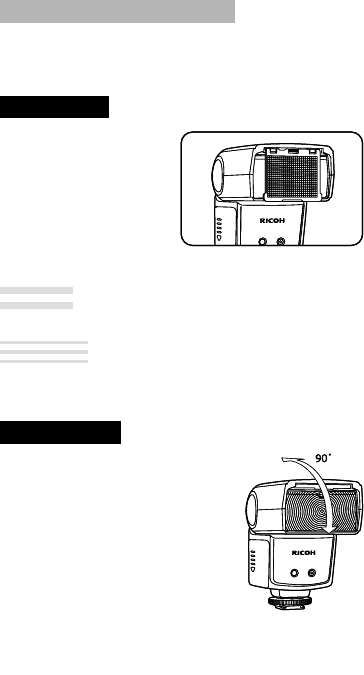
Wide panel
You can pull out the built-in
wide panel and place it
on the ash as shown in
the illustration to use a
shooting angle of 18 mm.
The catch-light panel will
be pulled out at the same
time so please push the
catch-light panel back inside.
Caution
Return the wide panel to its place when using bounce ash.
Reference
The wide panel diuses the light of the ash, making it eective
when you want to use a softer light or shooting close-ups.
Bounce ash
Mostly when shooting indoors, you can
use the ceiling or walls to reect the light
of the ash (Bounce ash). Bounce ash
can reduce hard shadows and result in
more natural pictures. Bounce ash can
also be convenient when shooting babies
and toddlers for whom a direct ash
would be too harsh.
You can change the angle of the ash
head upwards and set it to 45˚→60˚→
75˚→90˚.
•
•
•


