


Getting Started Guide 7.0 | 9
Initial Setup and Configuration
This section contains the following sub-sections:
z
“Apply Power to the SonicWALL Email Security” on page 9
z
“Connect Directly to the SonicWALL Email Security Appliance” on page 9
z
“Login to the SonicWALL Email Security Appliance” on page 9
z
“Initial System Configuration” on page 10
z
“Activating the Email Security License Subscriptions” on page 12
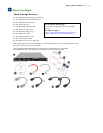
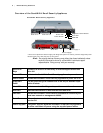
Apply Power to the SonicWALL Email Security
1. Connect the included standard power cord with the y-split power cord.
2. Plug each of the y-split ends into a power supply on the back of the SonicWALL Email Security
appliance.
3. Plug the power cord into an appropriate power outlet.
4. Press the recessed power button on the front bezel to power on the appliance. The entire
sequence may take several minutes to complete.
The Power LED on the front panel lights up green when you power on the SonicWALL Email
Security appliance. The HDD LED lights up and may blink while the appliance performs a series
of diagnostic tests. When the HDD LED is no longer lit, the SonicWALL Email Security appliance is
ready for configuration.
If the Alert light stays lit, ensure that BOTH of the power supplies on the back of the SonicWALL
Email Security Appliance are plugged in (use the included y-split cable for this purpose).
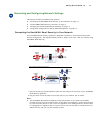
Connect Directly to the SonicWALL Email Security Appliance
The SonicWALL Email Security appliance comes pre-configured with an IP address of
192.168.168.169. Before you can connect your administration station to it, you must configure
your administration computer to have an address in the same subnet.
1. Make a note of your computer’s current network settings.
2. Set the computer you use to manage the SonicWALL Email Security appliance to have a static
IP address in the 192.168.168.x range, such as 192.168.168.50 and a netmask of
255.255.255.0. For help with setting up a static IP address on your computer, refer to
“Troubleshooting” on page 20.
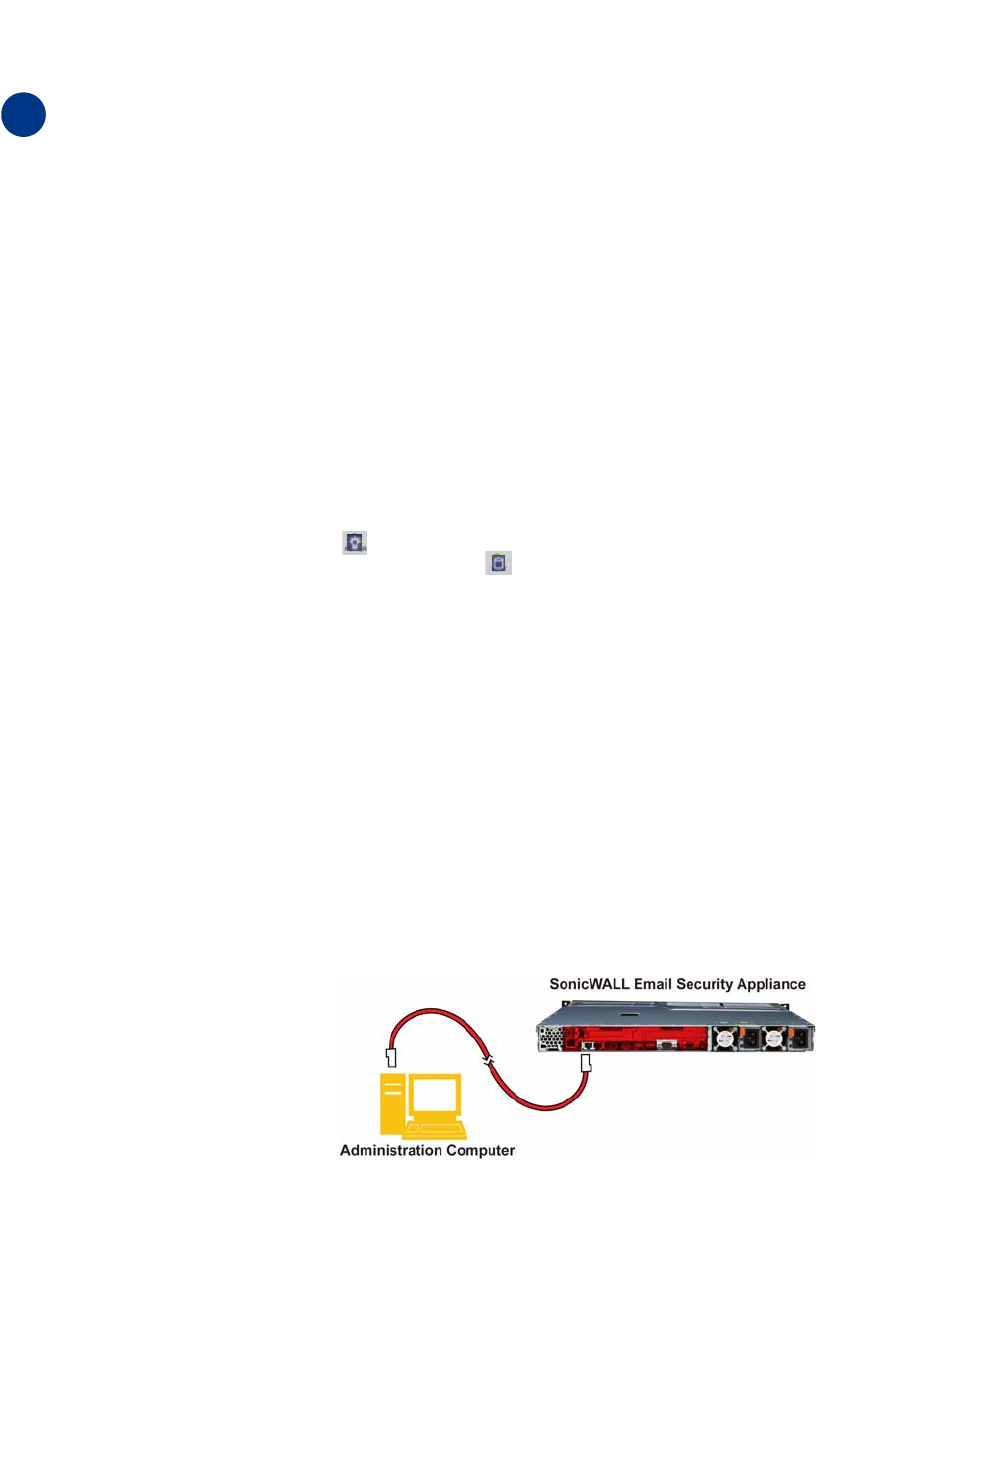
3. Using the supplied crossover cable and the administration computer, connect the computer’s
LAN port to the LAN (1) port on the back of your SonicWALL Email Security appliance.
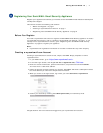
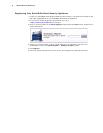
Login to the SonicWALL Email Security Appliance
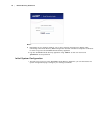
1. Open a Web browser on the administration computer.
2. Enter http://192.168.168.169 (the default IP address of the SonicWALL Email Security
appliance) in the Location or Address bar. The SonicWALL Email Security Web management
login screen displays.
3