


26 | Email Security Software
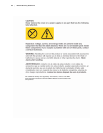
1
2
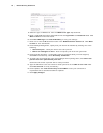
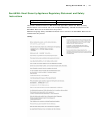
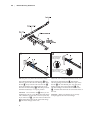
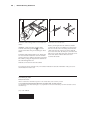
Pins extended through:
• Rack-mount flange
• Rail-mount flange
Pins not extended through:
• Rack-mount flange
• Rail-mount flange
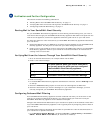
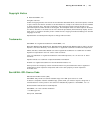
Slide the pins away from the rail-mount flange:
Press behind the slide-rail release latch 1 and
hold it to prevent the rail from sliding back. Press
the tab 2 away from the rail. Press the tab 3
back, and slide the rear rack-bracket pins away
from the rail-mount flange4. Slide the pins back
until the bracket stays in an open position.
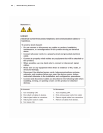
Attention: Do not remove tab 5unless you are
installing the rails on a non IBM rail-mount flange
with a thickness greater than 3.175 mm (0.125 in.).
If you remove tab 5, you must insert an M6 screw
through the bottom hole of the rail-mount flange
4 on all four flanges of the rack.
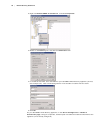
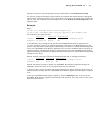
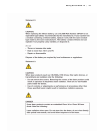
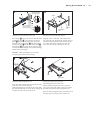
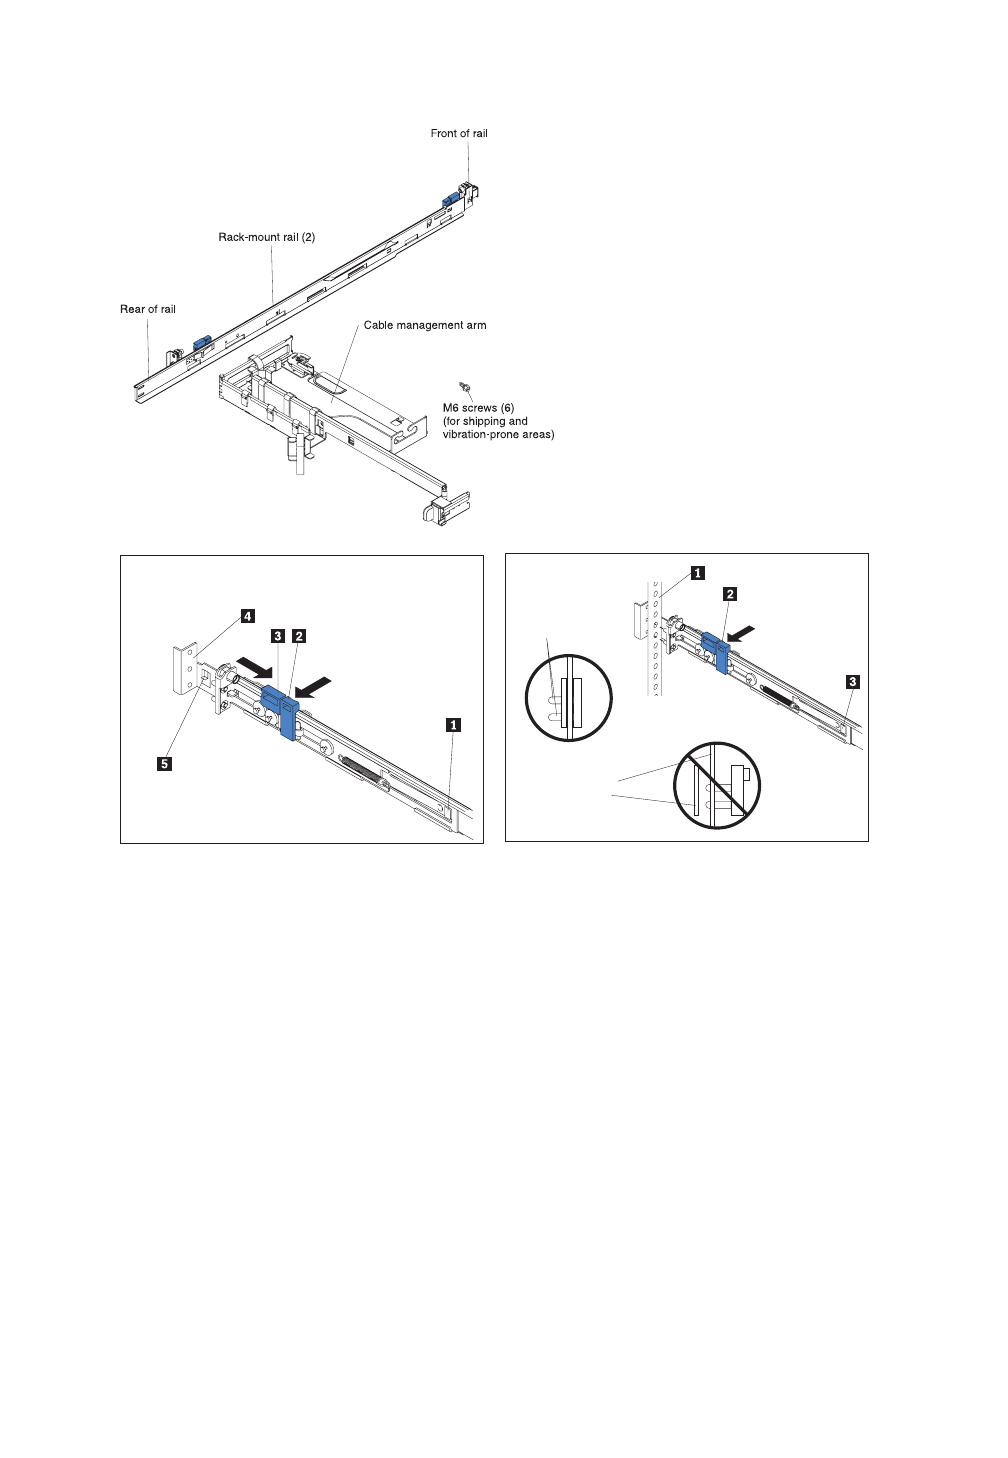
Attach the rear rail-adjustment bracket to the rack:
Place the rack-mount flange 1 between the
rail-mount flange and the rack-bracket pins. Press
the tab 2; the rack-bracket pins snap into place,
sliding through the rack-mount flange1 and
rail-mount flange. Lift the slide-rail release latch
3, and then slide the front rail toward the front of
the rack.
Attention: Make sure that the rail is securely
clamped against the rack-mount flange.
2