


Chapter 4 Viewfinder Screen Indications and Menus 95
Chapter 4 Viewfinder Screen Indications and Menus
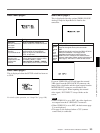
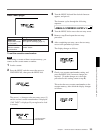
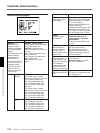
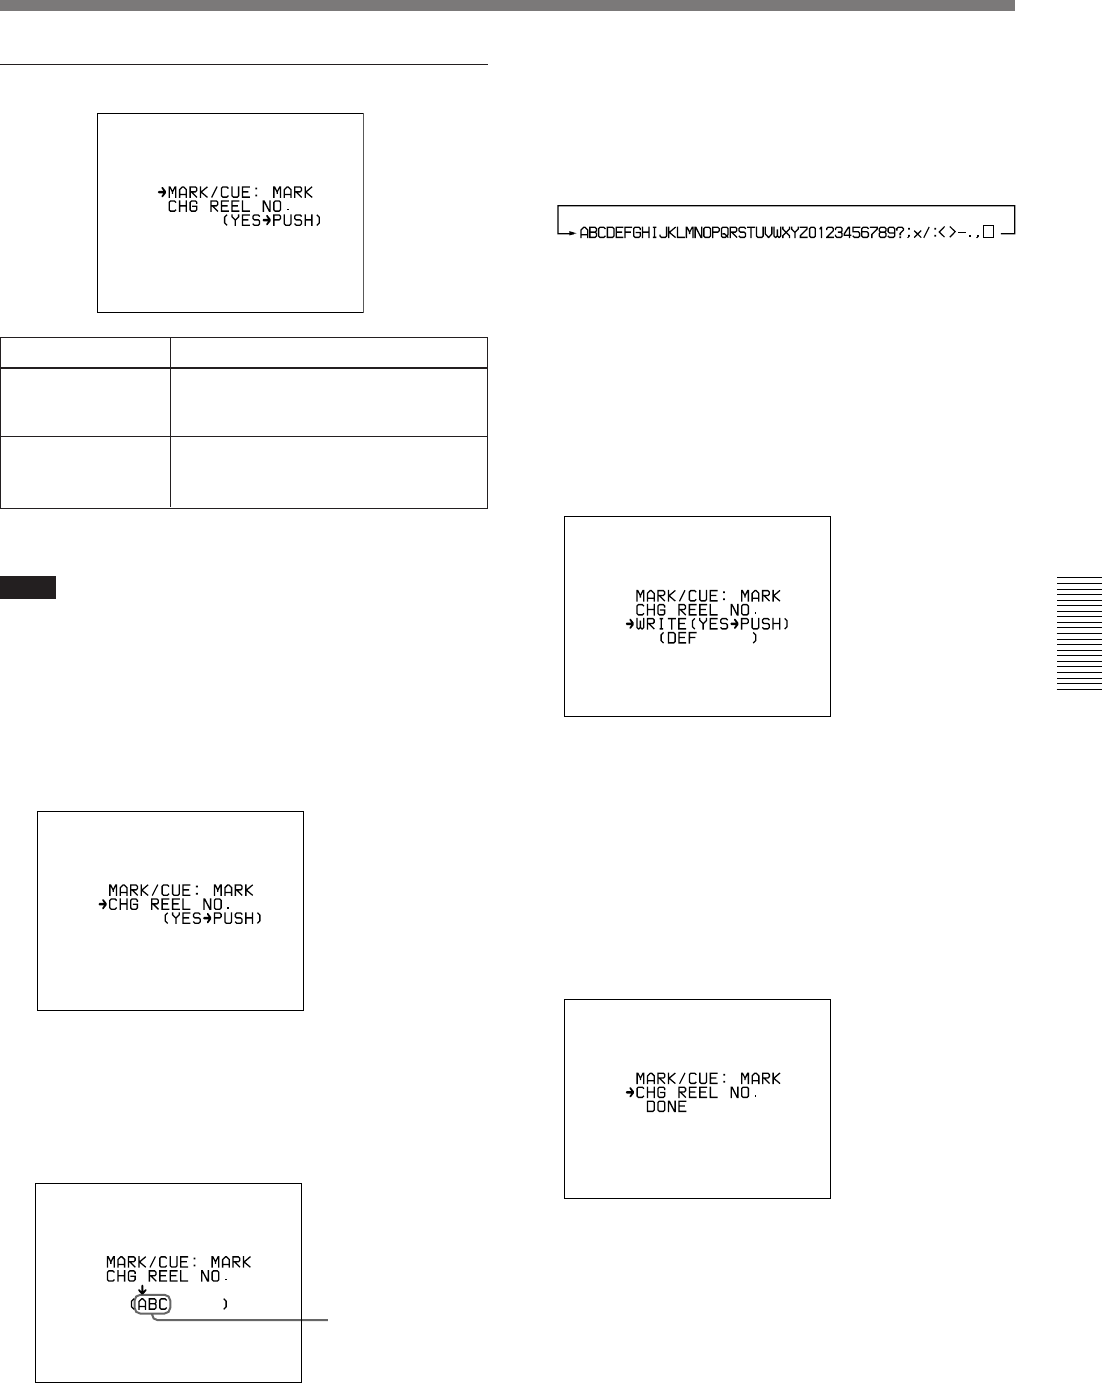
3 Turn the MENU dial until the desired character
appears, and press it.
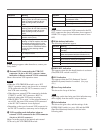
The character cycles through the following
sequence.
4 Turn the MENU dial to move the text entry arrow.
5 Return to step 3 and repeat the text entry
procedure.
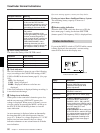
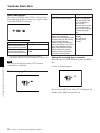
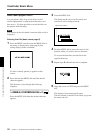
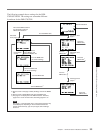
6 After completing text entry, move the text entry
cursor to the parenthesis position.
The display changes as follows.
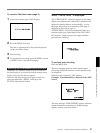
7 Check your cassette name/number setting, and
press the MENU dial if no more changes are
required. (To make changes or to abort the
procedure for this setting, return to step 2.)
This writes the new cassette name/number to the
cassette memory, after which the display changes
as follows.
(Space)
Basic menu page 7
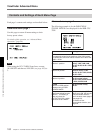
To set the cassette name/number
Note
When using a cassette without cassette memory, you
cannot set the cassette name or number.
1 Load a cassette.
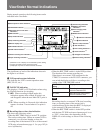
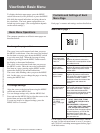
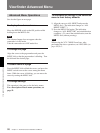
2 Press the MENU switch to move the cursor to
CHG REEL NO., then press the MENU dial.
The cursor (→) changes to the text entry arrow (↓)
and the current cassette name/number is displayed.
(“NO TAPE” is displayed if you neglected to load
a cassette.)
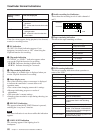
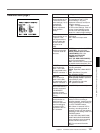
Item
Settings
MARK/CUE
Selects Mark mode
or Cue mode
MARK (normal value), CUE
See “ClipLink Shooting” (page 77).
CHG REEL NO.
Sets the cassette
name/number
See “To set the cassette name/
number” below.
Current cassette
name/number