


Table of
contents
Operation
Search
HOME/MENU
Search
Index
135
GB
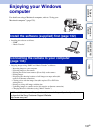
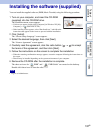
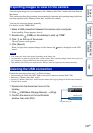
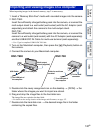
1 Make a USB connection between the camera and a computer.
The [Import Media Files] screen of “PMB” appears automatically.
• If the AutoPlay Wizard appears, close it.
2 Click the [Import] button to import images.
The computer starts importing images.
• By default, images are imported into a folder created in “Pictures” (in Windows XP, “My Pictures”)
that is named with the event name of [Event List].
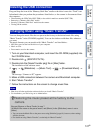
3 View images on your computer.
When importing is complete, the “PMB” starts.
Thumbnails of the imported images are displayed.
• The “Pictures” (in Windows XP, “My Pictures”) folder is set
as the default folder in “Viewed folders”.
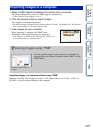
Importing images to a computer without using “PMB”
When the AutoPlay Wizard appears in step 1, click [Open folder to view files] t [OK] t
[DCIM] t copy the desired images to the computer.
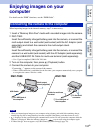
Importing images to a computer
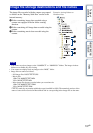
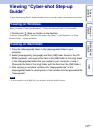
zViewing images using “PMB”
You can organize images on the computer on a calendar by
shooting date to view them. For details on the “PMB”, see the
“PMB Guide”.
Example: Month display
screen