


35
Recording/Playback
Playing the picture on a TV
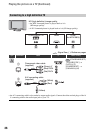
Connection methods and image quality
differ depending on what type of TV is
connected and connectors used.
Use the supplied AC Adaptor as the power
source (p. 14).
Refer also to the instruction manuals
supplied with the device to be connected.
b Notes
• Make all menu settings on your camcorder
before connecting. The TV may not recognize
the video signal properly if the [VCR HDV/DV]
or [i.LINK CONV] setting is changed after the
TV and your camcorder were connected with an
i.LINK cable.
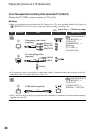
• Pictures recorded in the DV format are played
back as SD (standard definition) images
regardless of the connection.
• When recording, set [X.V.COLOR] to [ON] to
play back on an x.v.Color-compliant TV (p. 49).
Some settings may need to be adjusted on the
TV when playing back.
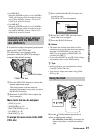
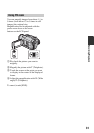
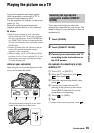
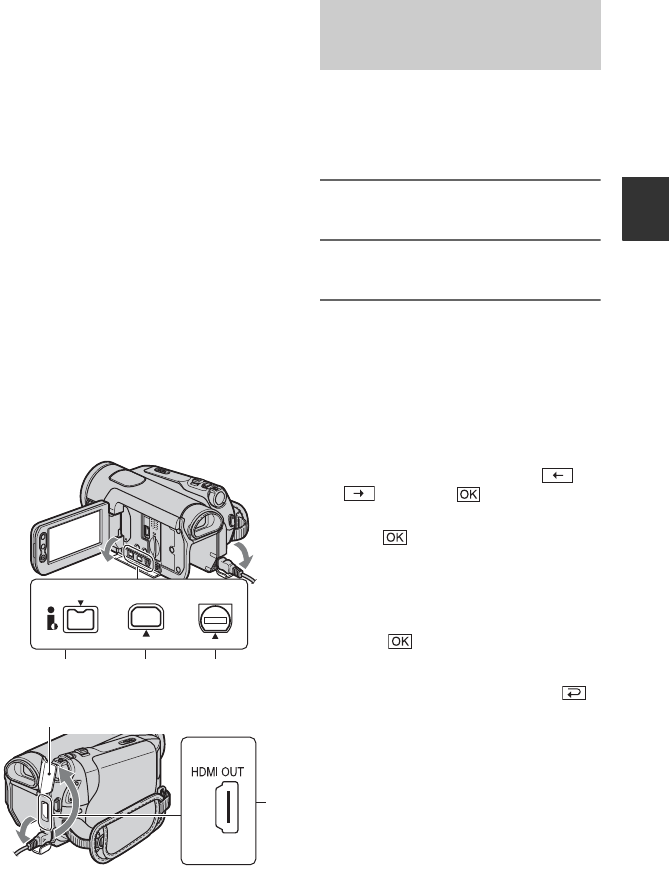
Jacks on your camcorder
Open the jack cover in the direction of the
arrow and connect the cable.
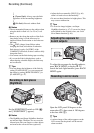
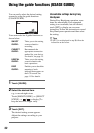
Your camcorder helps you select the
appropriate connection for your device. The
output setting of your camcorder is then set
automatically.
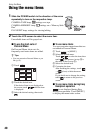
1 Touch [GUIDE].
2 Touch [CNNECT GUIDE].
3 Connect your camcorder and TV
according to the instructions on
the LCD screen.
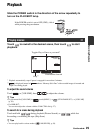
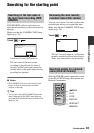
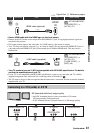
An example of connecting to a high
definition TV
1 Touch [TV] t [HD TV].
2 Select the TV input jacks with /
, then touch .
3 Check the output setting details, then
touch .
4 Connect your camcorder and TV,
referring to the picture on the screen.
Touch [HINT] and refer also to the
precautions on connecting.
5 Touch t [END].
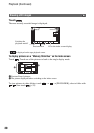
z Tips
• To return to the previous question, touch .
412
COMPONENT OUTHDV/DV A/V OUT
3
Lift up the bottom of the jack cover, then
rotate in the direction of the arrow.
Selecting the appropriate
connection method (CNNECT
GUIDE)
Continued ,