


59
DCR-HC36E/HC44E/HC46E/HC94E/HC96E
2-659-814-11(1)
Using the Menu
E:\SONY\2659814111\01GB04MEN_E.fm
To interrupt, touch [REC STOP] in step 2.
To resume, touch [REC START].
To cancel, touch [REC STOP], then [END]
in step 2.
• During Smooth interval recording, your
camcorder may perform the END SEARCH
function to locate the end in current recordings
on the tape after several frames have been
recorded.
• Do not turn off the power or disconnect the
power source while a message is displayed on
the screen.
• The camcorder will shoot several frames for the
first and last shots of the Smooth interval
recording.
• Smooth interval recording is released when
approximately 12 hours have elapsed after
shooting has begun.
• Sounds are not recorded.
• The last few frames may not be recorded if the
battery or tape has run out.
• There may be discrepancies in the interval.
• If you adjust the focus manually, you can record
clear pictures even if the light changes
([FOCUS], p. 47).
• You can silence the recording beep by setting of
[BEEP] (p. 64).
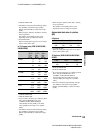
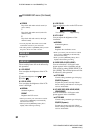
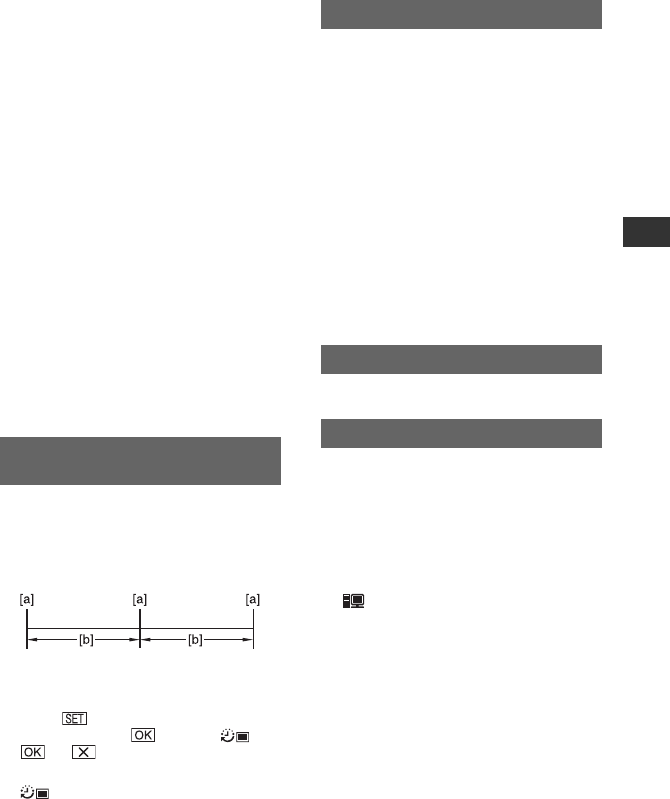
You can record still images on the
“Memory Stick Duo” at a selected interval.
This function is useful to observe the
movement of clouds or the changes in
daylight, etc.
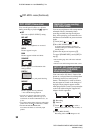
[a]: Recording
[b]: Interval
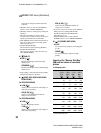
1 Touch t a desired interval time (1, 5
or 10 minutes) t t [ON] ( ) t
t .
2 Press PHOTO fully.
stops flashing and the interval still
image recording starts.
To cancel [INT.REC-STL], select [OFF] in
step 1.
The default setting is [ON], allowing you to
view the demonstration in about 10
minutes, after you have removed both a
cassette and a “Memory Stick Duo” from
your camcorder, and slide the POWER
switch repeatedly to turn on the CAMERA-
TAPE lamp.
• The demonstration will be suspended in
situations such as those described below.
– When you touch the screen during the
demonstration. (The demonstration starts
again after about 10 minutes.)
– When a cassette or a “Memory Stick Duo” is
inserted.
– When the POWER switch is set to other than
CAMERA-TAPE.
See page 78.
You can connect the camcorder to a
personal computer with a USB cable and
view pictures on the computer. You can
also connect the camcorder to a PictBridge-
compatible printer (p. 78) using this
function. Refer to “First Step Guide” on the
supplied CD-ROM for details.
Memory Stick
Select this to view pictures on a “Memory
Stick Duo” on the computer or to import
them to the computer.
PictBridge PRINT
Select this when you connect the
camcorder to a PictBridge-compatible
printer to print out directly (p. 78).
INT.REC-STL (Interval photo
recording)
DEMO MODE
PictBridge PRINT
USB SELECT
Continued ,