47
Recording/Playback
2 Press the ASSIGN button 2 to check
the SHOT-A. Press the ASSIGN button
3 to check the SHOT-B.
The selected setting will take effect on
the picture on the screen. The focus,
zoom, and so on, are automatically
adjusted as stored in the setting.
b Note
• You cannot check the transition time and
curve set using [SHOT TRANS] (p. 65).
4 Record using the shot transition
function.
1 Press the ASSIGN button 1 repeatedly
to bring up the SHOT TRANSITION
EXEC screen.
2 Press the REC START/STOP button.
3 Press the ASSIGN button 2 to record
movie using the SHOT-A. Press the
ASSIGN button 3 to record movie
using the SHOT-B.
Pictures will be recorded with the
settings that are changed automatically
from the current ones to the stored
ones.
z Tip
• Press the ASSIGN button 1 repeatedly to
cancel the SHOT TRANSITION.
b Notes
• You cannot zoom, focus, or adjust manually
while checking or activating the Shot transition.
• When you change [SHOT TRANS] (p. 65),
press the ASSIGN button 1 repeatedly to exit
the shot transition screen.
• You cannot return from the stored SHOT-A or
SHOT-B settings to previous settings after you
activate the shot transition during recording.
• If you press the following buttons during the
shot transition operation, the operation is
canceled:
– PICTURE PROFILE
–MENU
– EXPANDED FOCUS
– STATUS CHECK
z Tips
• You can also make a transition from saved
SHOT-A to saved SHOT-B or vice versa. For
example, to make a transition from SHOT-A to
SHOT-B. Display the shot transition CHECK
screen, press the ASSIGN button 2 and press the
REC START/STOP button. Next, display the
shot transition EXEC screen and press the
ASSIGN button 3.
• You can rehearse the shot transition by
pressing the ASSIGN button 2 or 3, in which
the desired setting was stored, before
pressing the
REC START/STOP button in step
4.
To cancel the operation
Press the ASSIGN button 1 repeatedly to
exit the shot transition screen.
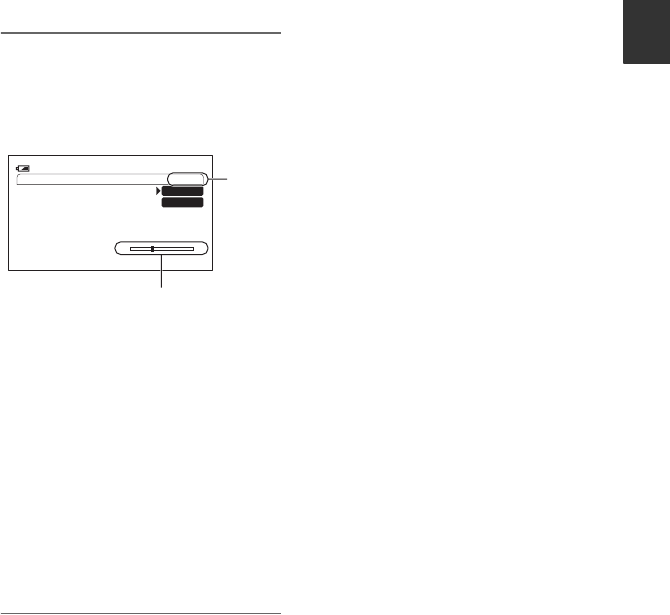
SHOT TRANS EXEC
ES
STBY120min
SHOT-A
SHOT-B
00:04:50:04
Transition bar
S: start
E: end
EXEC
Continued ,


