


GB
12 Installing the Camera
B Basic Installation and Connections
Installing the
Camera
Using the supplied ceiling brackets, wire
rope and screws, you can utilize existing
junction boxes, etc., to attach the camera to
the ceiling.
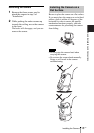
When you install the camera, always install
it on a level ceiling. If you have to install it
on a sloping or uneven ceiling, make sure
that the place where you install it is within
±15 degrees of the horizontal in order to
ensure the pan/tilt mechanism functions
properly.
• If you attach the camera to the ceiling,
entrust the installation to an experienced
contractor or installer.
• If you install the camera on the ceiling,
ensure that the ceiling is strong enough to
withstand the weight of the camera plus
the ceiling brackets and then install the
camera securely. If the ceiling is not strong
enough, the camera may fall and cause
serious injury.
• To prevent the camera from falling, make
sure to attach the supplied wire rope.
• If you attach the camera to the ceiling,
check periodically, at least once a year, to
ensure that the connection has not
loosened. If conditions warrant, make this
periodic check more frequently.
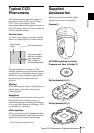
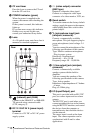
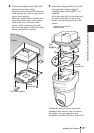
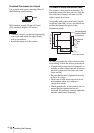
Before installation
After deciding the direction in which the
camera will shoot, make the required holes
for the junction box, and connecting cables.
The connecting cables cannot be passed
through the ceiling bracket (A). A hole for
the wiring is required in the ceiling at the
back of the camera where it is attached to the
ceiling.
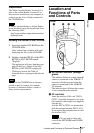
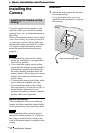
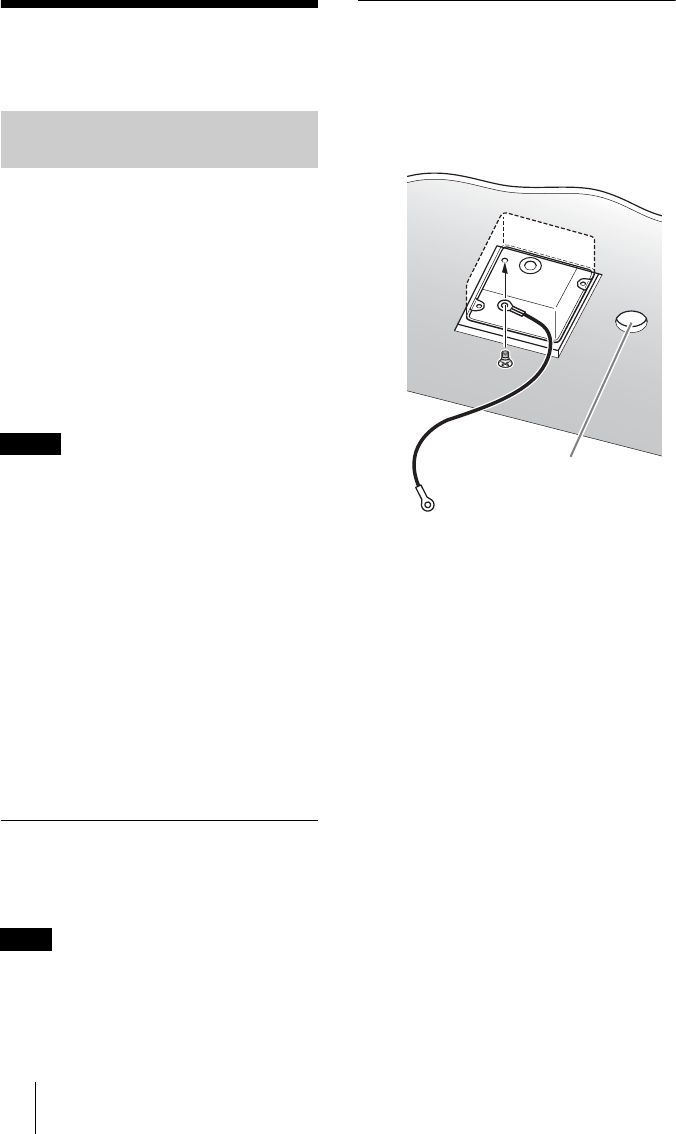
Installation
1 Attach the wire rope to the junction
box in the ceiling.
Use a screw hole and a screw (not
supplied) in the junction box to attach
the wirerope.
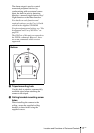
Installing the Camera on the
Ceiling
Notes
Note
Ceiling
Hole for connecting cable