


Administrating the Camera
Setting the Camera tampering detection/Motion detection — Action input Menu
47
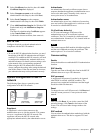
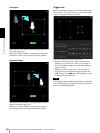
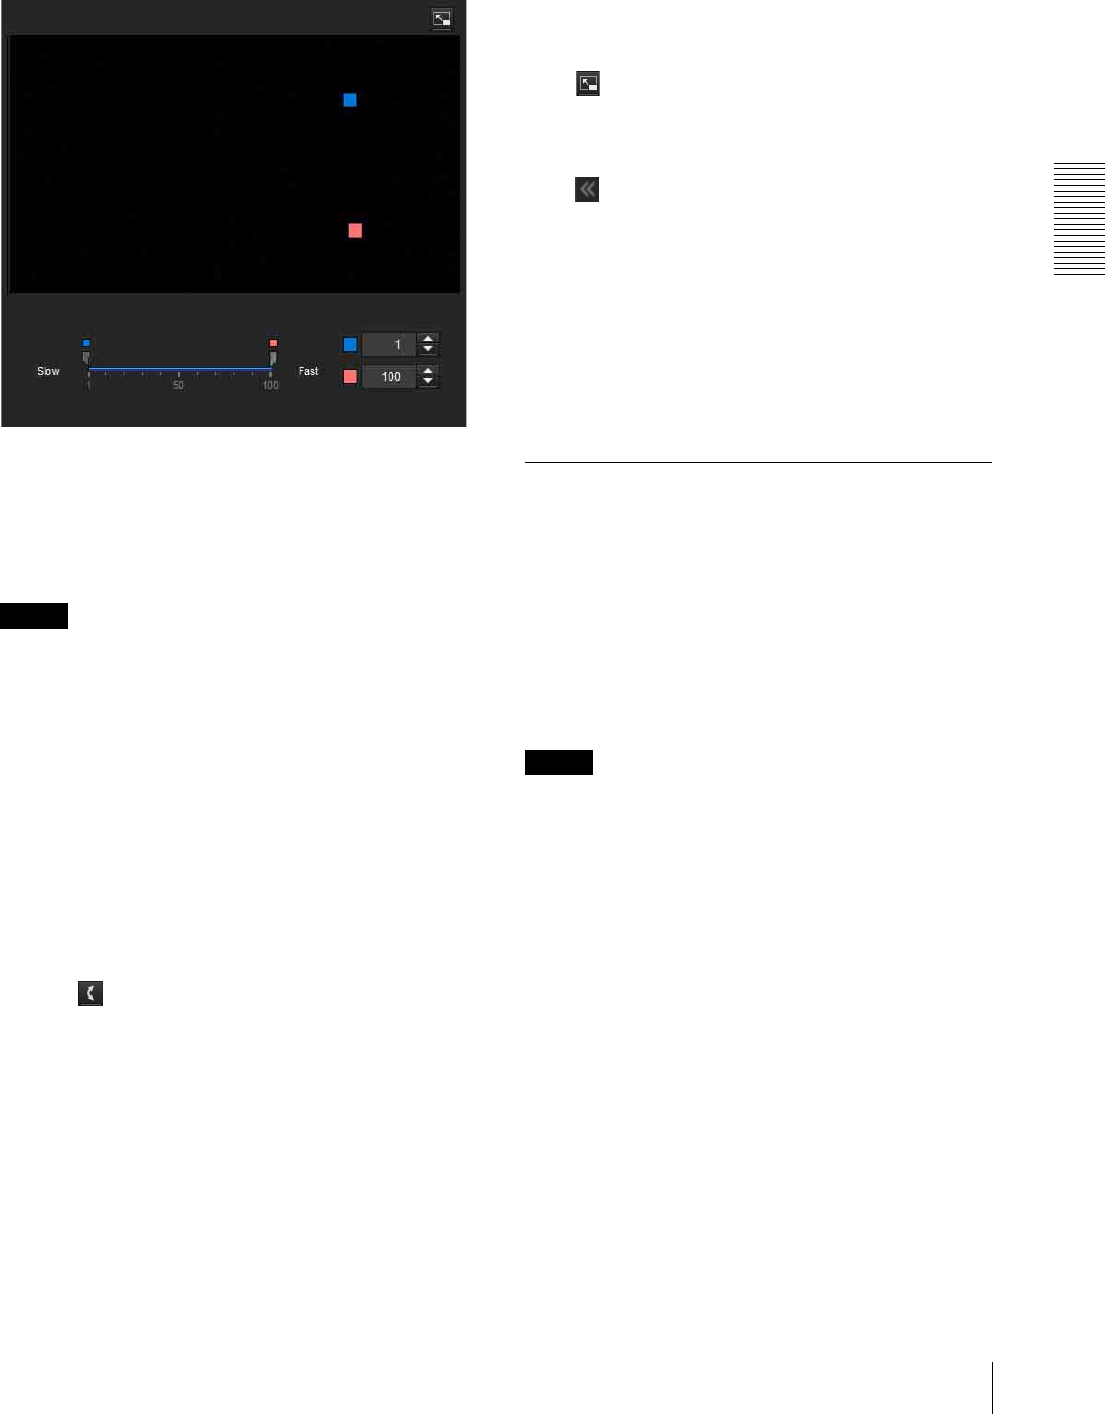
Trigger speed
Specify the minimum and maximum speeds to be
detected.
• Min. speed and Max. speed can be specified within a
scale of 100.
• The blue marker for minimum speed cannot be set to
the right of the red marker for maximum speed.
• The squares indicating Min. speed and Max. speed
move on the right and left sides of the preview screen.
Note
The set value is only valid under the conditions of
Intrusion or Passing.
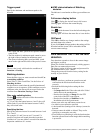
Matching decision
Select the filter type you want to match and check Use
as matching condition.
Select Filter 1, Filter 2 and Filter 3 in the list box of
Matching decision.
Set the alarm to sound when the specified maximum 3
conditions occur in sequence. If the conditions occur in
a different order, the alarm will not sound. Select the
condition from Intrusion, Passing or None.
Filter order switching button
Clicking switches the order of filter between the
neighouring methods.
e.g., If you click the button between 1 and 2, they will
switch order. If you click the button between 2 and 3,
they will switch order.
Specifying the time
Specify the reference interval in seconds between 1 and
2, or 2 and 3.
For example, if 1 and 2 are set and “3 seconds” is
specified, an alarm will sound when the inspection
conditions of 2 are met within 3 seconds from when the
inspection conditions of 1 are met.
x
VMF status indicator of Matching
decision
The indicator is on when the set filter type conditions are
met.
Full-screen display button
Click to display the ActiveX area in full screen.
Clicking again will show the normal display.
Stretch bar
Click to hide the menu list on the left and enlarge the
preview screen.
Clicking again will show the menu list as it was before.
OK/Cancel
Click OK to finalize any changes made to the settings
and send them to the camera.
If you click Cancel, changes made to the settings will be
discarded and the screen will be reloaded with the
current camera settings.
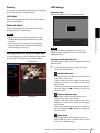
Face detection Tab — Set the face
detection
Face detection responds to faces in the camera image
and triggers an alarm.
When you click the Face detection tab, a dialog appears.
Enter the user name and password.
The factory setting of the user name and password for
the Administrator is set to “admin”.
Change the password from the factory setting for the
security of your devices.
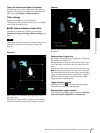
Notes
• Before actual use, perform an operation test and
confirm that the face detection function works
correctly.
• Perform the following before setting the face
detection.
–Set
Image size1
in the Video codec tab of the Video /
Audio menu to the maximum rate.
– Deselect the checkbox of Image 1 in the PTZ
control tab of the PTZ control menu.
– Deselect the checkbox of Stabilizer in the
Installation tab of the System menu.
• Some parts at the top and bottom cannot be set.
• An inactive area cannot be specified.
• A horizontal face (leaning too far sideways) cannot be
detected.
• Vertexes cannot be added or deleted. They are for
specifying a rectangular area only.
• Even when privacy masking is used, the face detection
function operates based on the images before masking
is processed.