50
Before operation
Set [Moving Image] to [Clip Motion] in the
SET UP settings (pages 41, 102).
a Set the mode selector to .
b Press (Image Size).
The Image Size setup item appears.
c Select the desired mode with
v/V.
You can select from [Normal] or
[Mobile].
d Shoot one frame.
e Shoot the next frame.
Press the shutter button once to shoot
the next frame, then repeat this
operation until you have shot the
desired number of frames.
f Press z.
All of the frames will be saved in the
“Memory Stick.”
To delete shot images in the
midst of shooting
1 In Steps 4 or 5, press b (7).
Shot images will be played back in
order, and when the last image is
reached, playback stops.
2 Press (Delete), and select either
[Delete Last] or [Delete All], then press
z.
3 Select [Delete], then press z. If you
chose [Delete Last] in Step 2, repeat
Steps 1 to 3 to delete the images in order,
from the latest one shot.
• If you do not complete Step 6, all the images
will not be saved in the “Memory Stick.”
• In Clip Motion, the date and time cannot be
inserted.
• When you view Clip Motion images using the
Index screen, the images may appear different
from the actual image recorded.
• GIF files made on other cameras may not be
displayed correctly on this camera.
• For the number of images you can record using
Clip Motion, see page 97.
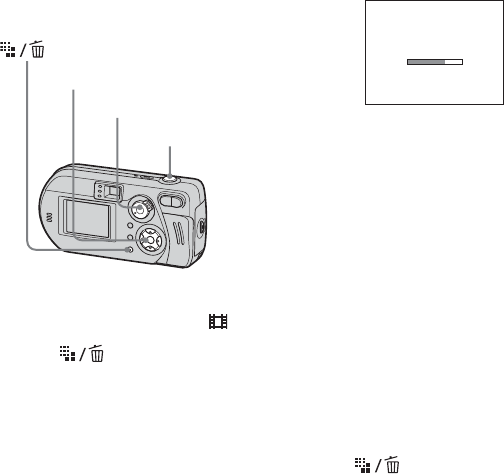
Mode selector
Control button
Shutter button
Making "Clip Motion"
