


58
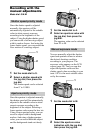
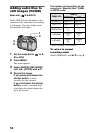
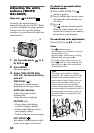
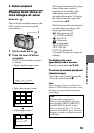
Setting the distance
to the subject
Mode dial: /S/A/M/SCN/
Normally the focus is automatically
adjusted. This function is useful when
the auto focus does not work well such
as in dark places.
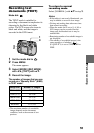
1
Set the mode dial to , S, A,
M, SCN or .
2
Press FOCUS.
The focus is fixed and the 9
(manual focus) indicator appears.
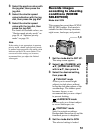
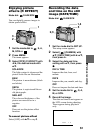
3
Turn the jog dial to select the
desired focus setting.
You can select from 15 focus
settings (unit: m) including the 9
position:
0.1, 0.2, 0.3, 0.5, 0.8, 1.0, 1.5, 2, 3,
5, 7, 10, 15, and
∞
(infinity)
To reactivate auto focusing
Press FOCUS again and the focal point
information disappears.
Notes
•
Focal point information may not
completely show the correct distance. Use
the information as a guide.
•
The focus preset cannot be set when
attaching a conversion lens.
•
Focusing error increases if the lens is
pointed up or down.
•
If you shoot a subject within 0.2 m
(7 7/8 inches) while the zoom is set to the
T side, you cannot get a clear focus. In
such cases, the focal point information
flashes. Press the zoom W button until the
indicator stops flashing.
2
1
3
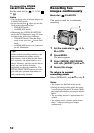
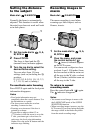
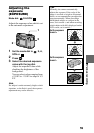
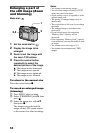
Recording images in
macro
Mode dial: /S/A/M/SCN/
The macro recording is used when
zooming up a little subject, such as
flowers, insects.
1
Set the mode dial to , S, A,
M, SCN or .
2
Clear the menu, and press
the control button
B
().
The (macro) indicator appears
on the LCD screen.
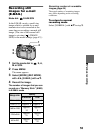
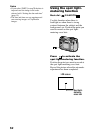
You can record a subject as close
as about 4 cm (1 5/8 inches) from
the lens surface with the zoom set
all the way to the W side, or about
20 cm (8 inches) with the zoom set
all the way to the T side.
To return to normal
recording mode
Press the control button
B
() again.
The indicator disappears.
Notes
•
You cannot record images in macro with
the LANDSCAPE mode of the SCENE
SELECTION function.
•
When recording images in macro, use the
LCD screen. If you record using the finder,
the range visible in the finder may differ
from the actual recording range.
2
1