17
Recording – Basics
LCD BRIGHT
Recording a picture
Note on LOCK (DCR-TRV320 only)
When you slide LOCK to the left, the POWER switch can no longer be set to MEMORY
accidentally. The LOCK is released as a default setting.
To enable smooth transition
You can make the transition between the last scene you recorded and the next scene
smooth as long as you do not eject the cassette if you turn off your camcorder. When
you change the battery pack, set the POWER switch to OFF (CHARGE).
If you leave your camcorder in the standby mode for 3 minutes
Your camcorder automatically turns off. This is to save battery power and to prevent
battery and tape wear. To resume the standby mode, set the POWER switch to OFF
(CHARGE) once, then turn it to CAMERA again.
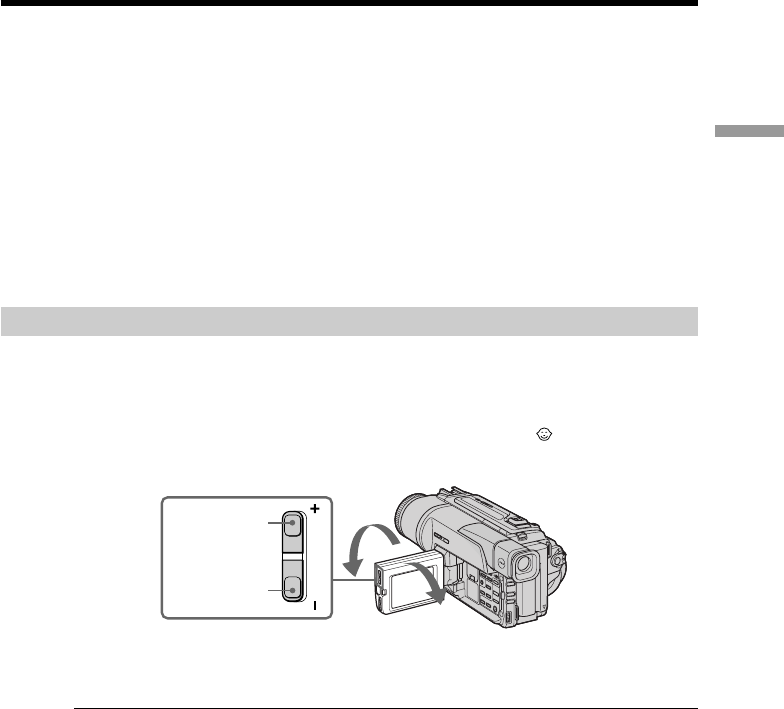
Adjusting the LCD screen
To adjust the brightness of the LCD screen, press either of the two buttons on LCD
BRIGHT.
The LCD panel moves about 90 degrees to the viewfinder side and about 180 degrees to
the lens side.
If you turn the LCD panel over so that it faces the other way, the indicator appears
on the LCD screen and in the viewfinder (Mirror mode).
When closing the LCD panel, set it vertically until it clicks, and swing it into the
camcorder body.
Note
When using the LCD screen except in the mirror mode, the viewfinder automatically
turns off.
When you use the LCD screen outdoors in direct sunlight
The LCD screen may be difficult to see. If this happens, we recommend that you use the
viewfinder.
Picture in the mirror mode
The picture on the LCD is a mirror-image. However, the picture will be normal when
recorded.
During recording in the mirror mode
You cannot operate the ZERO SET MEMORY on the Remote Commander.
Indicators in the mirror mode
The STBY indicator appears as Xz and REC as z. Some of other indicators appear
mirror-reversed and others are not displayed.
to brighten
to dim
180°
90°


