91
Still image editing
Changing image size
– Resize
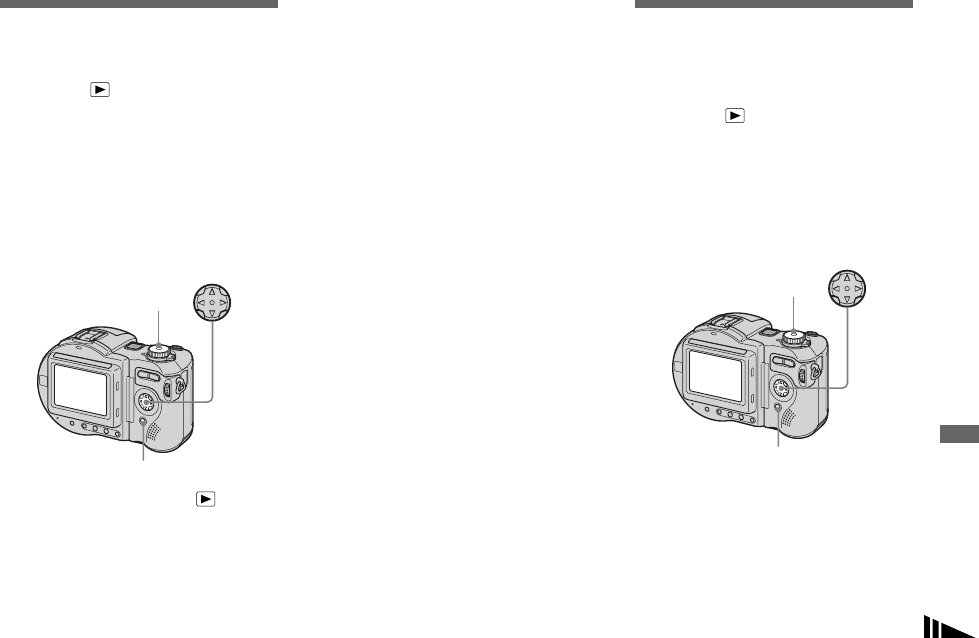
Mode dial:
You can change the image size of a
recorded image, and save it as a new file.
You can resize to the following sizes.
2272×1704 (MVC-CD400 only),
1600×1200, 1280×960, 640×480
The original image is retained even after
resizing.
a Set the mode dial to .
b Display the image you want to
resize with b/B.
c Press MENU.
The menu appears.
d Select [RESIZE] with b/B, then
press z.
e Select the desired size with v/
V, then press z.
To cancel resizing
Select [CANCEL] in step 5, then press z.
• The resized image is recorded as the newest
file. The original image is retained.
• You cannot change the size of movies (MPEG
MOVIE), Clip Motion, Multi Burst or TIFF
images.
• When you change from a small size to a large
size, the image quality deteriorates.
• You cannot resize to an image size of 3:2.
• When you resize a 3:2 image, the upper and
lower black portions will be displayed on the
LCD screen.
• If you resize an image, the disc remaining space
will decrease.
• If the disc remaining space is not sufficient, you
may not be able to resize an image.
Choosing images to
print
– Print mark
Mode dial:
You can mark a print mark on still images
shot with your camera. This mark is
convenient when you have images printed
at a shop that conforms with the DPOF
(Digital Print Order Format) standard.
• You cannot mark movies (MPEG MOVIE) or
Clip Motion images.
• In E-mail mode, a print mark is marked on the
normal size image that is recorded at the same
time.
• When you mark images shot in Multi Burst
mode, all the images are printed on one sheet
divided into 16 panels.
Mode dial
Control button
MENU
Mode dial
Control button
MENU


