


59
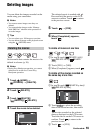
Editing
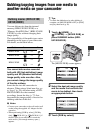
Dubbing/copying images from one media to
another media on your camcorder
You can dub movies from the internal
memory (HDR-UX19E/UX20E) or a
“Memory Stick PRO Duo” (HDR-UX10E/
UX20E) to a disc without changing their
image quality.
The compatibility of the media types varies
depending on the types of your camcorder.
For details, see the table below.
You cannot dub movies recorded
both with HD (high definition) image
quality and SD (standard definition)
image quality onto one disc. Also,
you cannot change the image quality
of the disc midway.
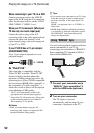
Insert the disc into the camcorder in
advance. When using a bland new disc, go
to
“Step 6” (p. 28), and when using a DVD-
RW/DVD+RW disc that contains
recordings, format the disc (p. 77) first,
then match the image quality of movies for
dubbing with that of the disc.
b Notes
• Connect your camcorder to the wall outlet (wall
socket) using the supplied AC Adaptor for this
operation.
• When performing [DUB by select], [DUB by
date], [ DUB ALL] or [ DUB ALL], if
the disc space is not sufficient to record the
entire movie, [Not enough memory space.]
appears.
z Tips
• To check the dubbed movies after dubbing is
complete, set [MOVIE MEDIA SET] to [DISC]
and play them back (p. 26).
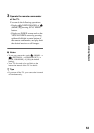
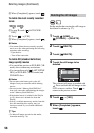
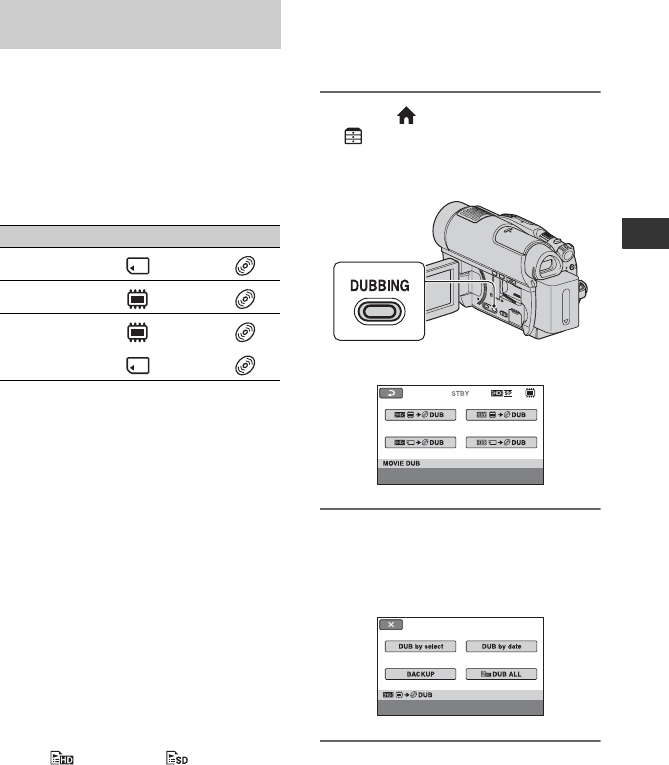
1 Touch (HOME) t
(OTHERS) t [MOVIE DUB], or
press DUBBING button (HDR-
UX19E/UX20E).
The [MOVIE DUB] screen appears.
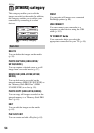
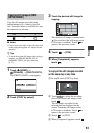
2 Select the desired image quality
and the media that contains the
movie to be dubbed, then touch
an appropriate button.
3 Touch [DUB by select].
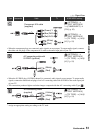
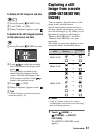
Dubbing movies (HDR-UX10E/
UX19E/UX20E)
Model From To
HDR-UX10E t
HDR-UX19E t
HDR-UX20E
t
t