


6
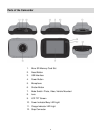
Powering the Digital Camcorder ON
Battery
Make sure the built-in lithium battery has been fully charged before using your camcorder.
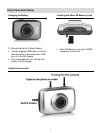
To Charge the battery:
1. Power off the camcorder.
2. Connect your camcorder to a running computer with the USB cable provided, or use the AC
charger provided in the package.
3. The ‘Charge’ LED light lights up red indicating that your camcorder is in ‘Charge’ mode.
The LED switches off when your camcorder is fully charged.
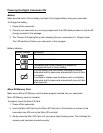
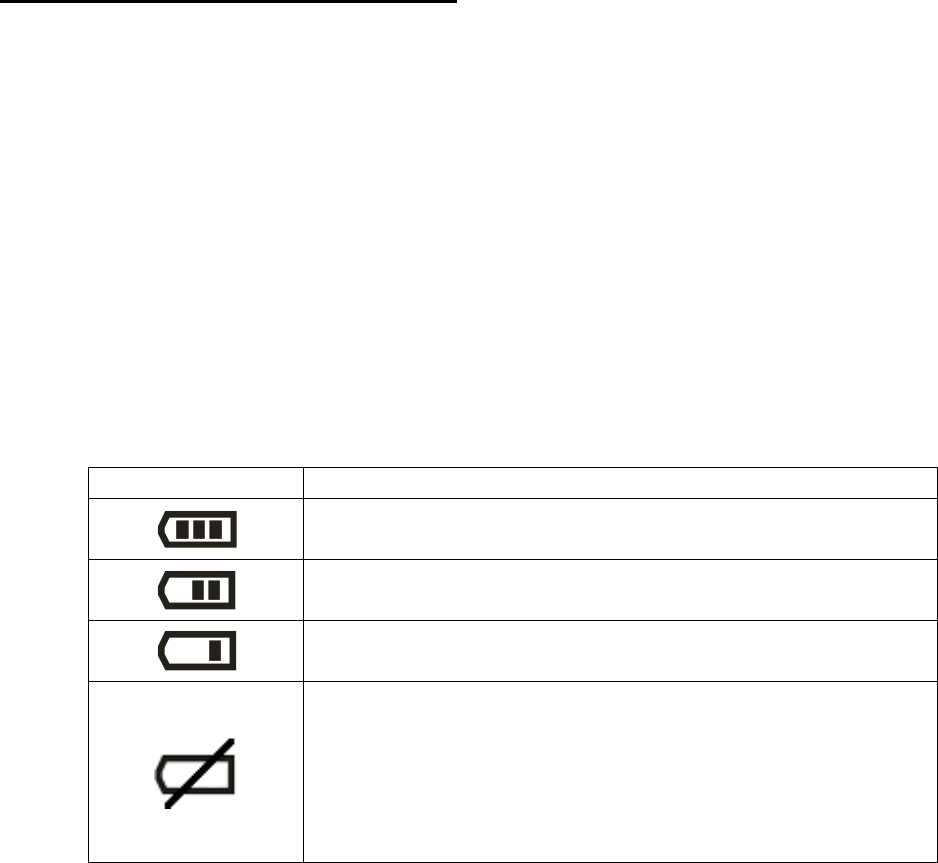
Battery Indicator:
Battery Indicator
Description
The battery level is full.
The battery level is half.
The battery level is low, indicating to prepare for
recharging the built-in lithium battery.
If the no battery level icon shows, the battery is almost
exhausted and the camcorder automatically turns off after
a moments.
‘Low Battery’ flashes once the battery level is completely
exhausted and the camcorder automatically turns off after
a few seconds.
Micro SD Memory Card
Make sure a Micro SD Memory card has been properly inserted into your camcorder.
Micro SD Memory card not included.
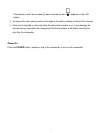
To properly insert the Micro SD Card:
1. Power off the camcorder.
2. Insert the Micro SD Card into the Micro SD Card slot in the direction as shown on the
camcorder (see SD icon by the Micro SD card slot).
3. Gently press the Micro SD Card until you hear a slight clicking sound. This indicates the
memory card has been inserted correctly.