30
user’s manual
digital camera
Self-Timer
When you need to take a solo picture or a group picture, including yourself, but no one is there to
help you, turn ON the camera's Self-Timer. When the Self-Timer is ON, there will be a 10-
second delay between the time you press the Shutter button and the time the picture is taken,
giving you just enough time to run in front of the camera to include yourself in the picture. To
know more on how to take pictures using the Self-Timer, refer to "Using the Self-Timer" under the
section "Taking Pictures".
Note:
The Self-Timer is automatically turned off after the picture is taken or if the camera is powered
off.
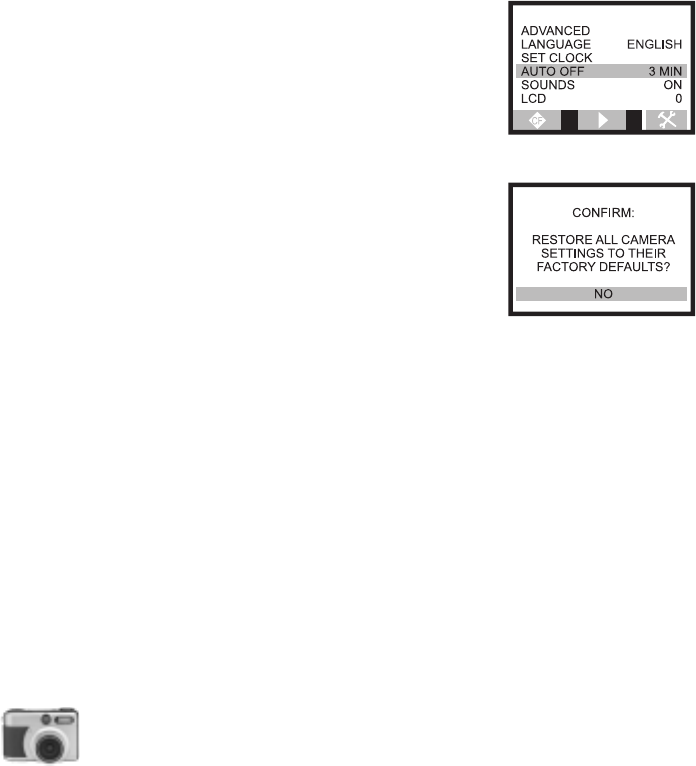
The Setup Menu
Use the Setup Menu options to control the use of your digital
camera. In this menu, you can make adjustments to Advanced
Setting, Language Selection, Date and Time, Auto Power Off,
Sounds, LCD Brightness.
Advanced
The Advanced option displays camera information which
include the firmware version. It also allows you to restore
camera settings back to factory defaults.
Select Yes if you want to reset the camera to the original
factory settings.
Language
Use the Language option to choose the language to use for displaying camera menus and
messages. By default, English is the selected language.
Note:
The languages available for selection may be different on cameras in certain countries.
Set Clock
Use the Set Clock option to set your digital camera to the current date and time (in month/day/
year, hour:minutes format). You need to have accurate date and time settings in order to know
when exactly each of your pictures was taken.


