6-56
Configuring the Switch
Port-Based Virtual LANs (VLANs)
Configuring the Switch
Configuring VLAN Parameters from the Switch Console
In the factory default state, VLANs are disabled and all ports belong to the
same broadcast/multicast domain. This domain is called DEFAULT_VLAN and
appears in the “VLAN Names” screen after you activate VLAN support and
reboot the switch. You can create up to 29 additional VLANs by adding new
VLAN names, and then assigning one or more ports to each VLAN. (The switch
accepts a maximum of 30 VLANs, including the default VLAN.) Note that each
port can be assigned to multiple VLANs by using VLAN tagging (described
later in this section).
To Activate VLANs
In the factory default configuration, VLANs are disabled. Before you can
configure VLANs, you must first enable VLAN support and reboot the switch
to activate the VLAN support.
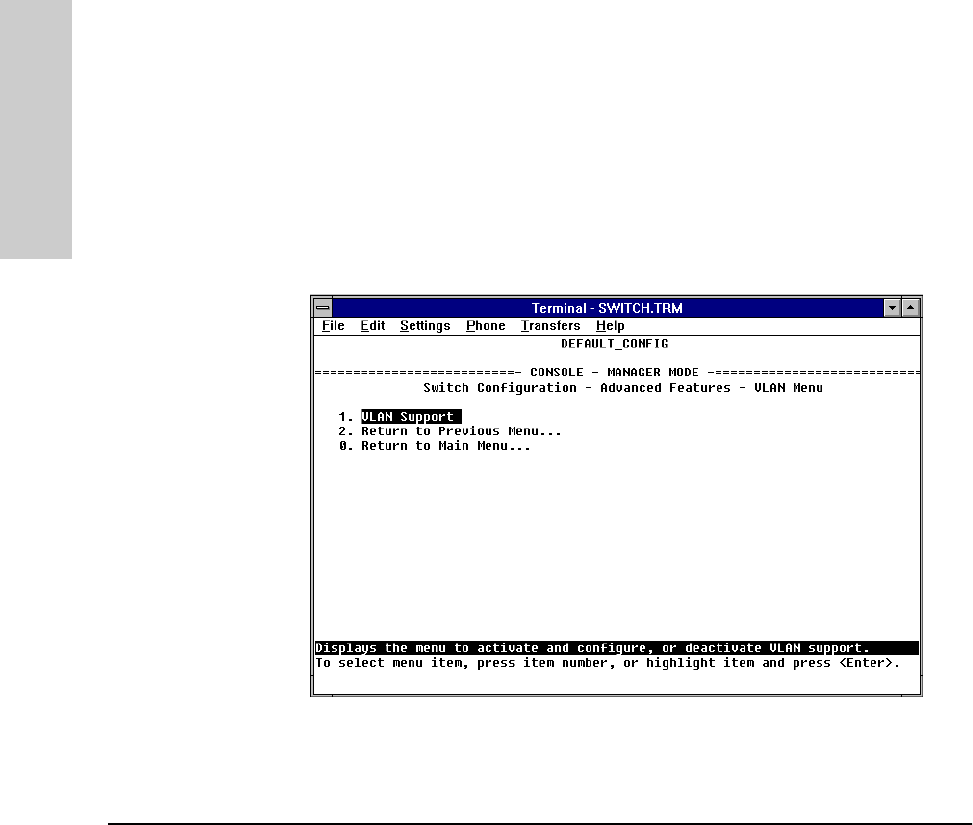
1. From the Main Menu select:
3. Switch Configuration
5. Advanced Features
6. VLAN Menu . . .
You will then see the following screen:
Figure 6-39. The VLAN Menu Screen
