The port properties of the hyper terminal must be the same as the default settings of the console port
shown in the following table.
Setting Default
Bits per second 9,600 bps
Flow control None
Parity None
Stop bits 1
Data bits 8
Login procedure
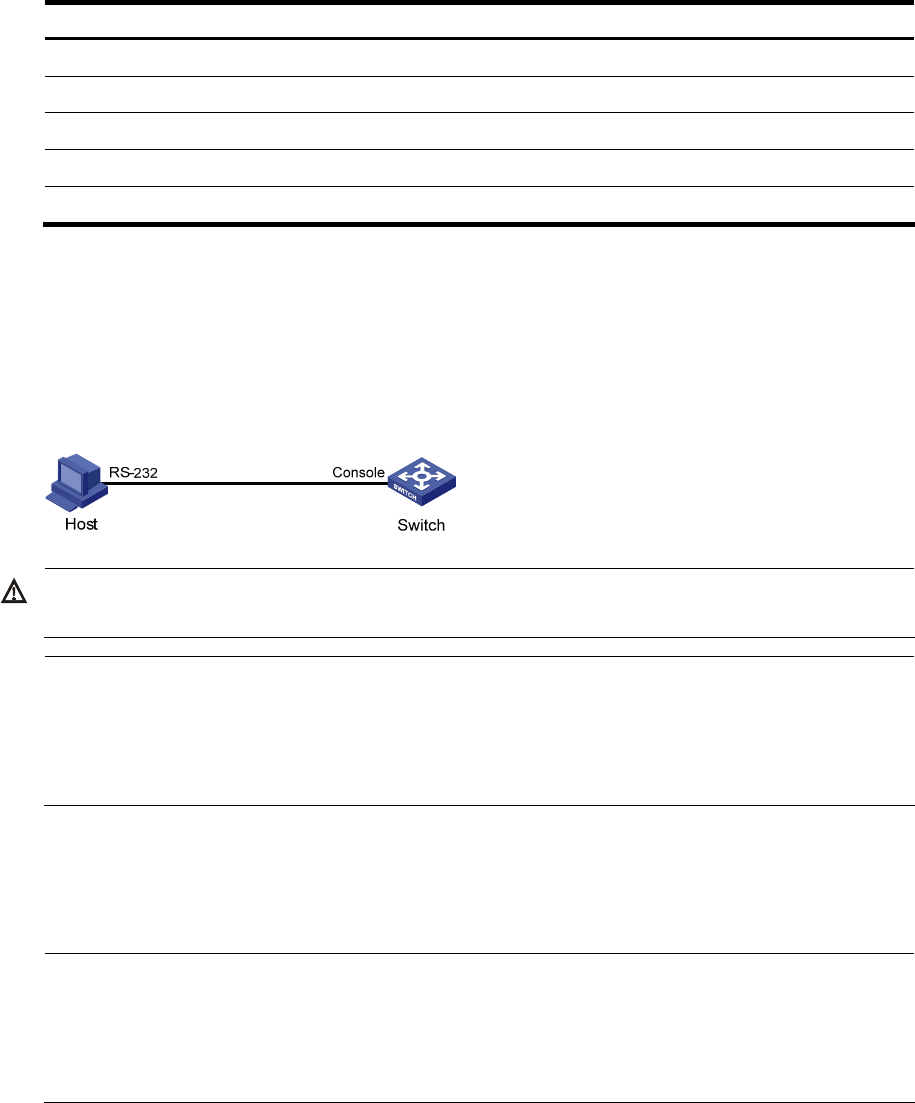
Step1 Use the console cable shipped with the device to connect the PC and the device. Plug the DB-9 connector
of the console cable into the serial port of the PC, and plug the RJ-45 connector into the console port of
your device.
Figure 4 Connect the device and PC through a console cable
WARNING!
Identify interfaces to avoid connection errors.
NOTE:
The serial port of a PC does not support hot-swap, so do not plug or unplug the console cable into or from
the PC when your device is powered on. To connect the PC to the device, first plug the DB-9 connector of
the console cable into the PC, and then plug the RJ-45 connector of the console cable into your device. To
disconnect the PC from the device, first unplug the RJ-45 connector and then the DB-9 connector.
Step2 Launch a terminal emulation program (such as HyperTerminal in Windows XP/Windows 2000). The
following takes Windows XP’s HyperTerminal as an example. Select a serial port to be connected to the
device, and set terminal parameters as follows: set Bits per second to 9600, Data bits to 8, Parity to
None, Stop bits to 1, and Flow control to None, as shown in Figure 5 through Figure 7.
NOTE:
On Windows 2003 Server operatin
system, you need to add the HyperTerminal pro
ram first, and then
log in to and manage the device as described in this document. On Windows 2008 Server, Windows 7,
Windows Vista, or some other operating system, you need to obtain a third party terminal control
program first, and follow the user guide or online help of that program to log in to the device.
25
