


32 Installation and Operation Guide
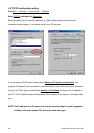
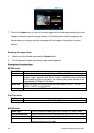
7. Click on the Home button to return to the home page while the new image setting acts on the
images to effect the desired changes instantly. (If the setting has not been changed by the
above steps, any (re)entry onto the home page will find images in their earlier or original
setting.)
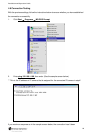
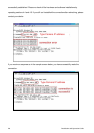
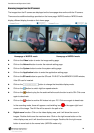
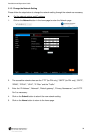
Exchange the image format
1. Select one of the formats then press the Submit button.
2. The IP camera will restart automatically after several seconds.
Description of function keys:
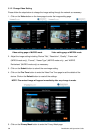
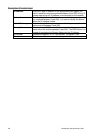
MPEG4 mode:
Device Title: Enter the camera title in the given space.
Resolution: Scroll to choose the image resolution from “VGA” or “QVGA”.
Quality: Scroll to choose the image quality out of a spectrum of qualities ranging from
“highest”, ”high”, “medium”, and “low” to “lowest”. In MPEG4 mode, you can also
set the quality by typing in the value. The custom quality value must be in the
range between 64 Kbps to 8192 Kbps.
Frame rate: Click on the drop-down list to choose the frame rates of “5FPS”, “10FPS”,
“15FPS”, “24FPS” or “(25) 30FPS”.
Format: Click to choose the “MJPEG” or the “MPEG4” mode.
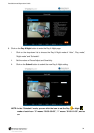
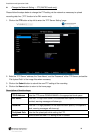
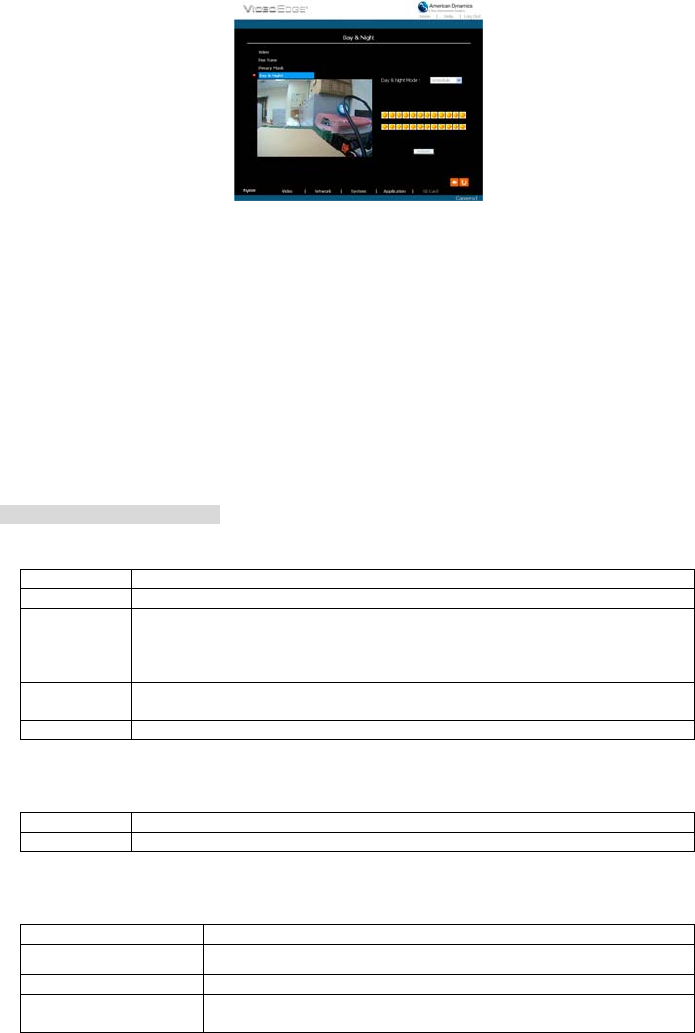
Fine Tune mode
Brightness: Enter your desired quality of image brightness from a spectrum of 0 to 255.
Saturation: Enter the saturation level in the blank (0 to 255).
MJPEG mode:
Viewer type: Click to choose the viewer type of the “ActiveX” or “AJAX” mode.
MJPEG Deinterlace: Click to choose the MJPEG Deinterlace of the “ON” or “OFF” mode.
Submit: Click to submit the new image setting to the IP camera.
Default: Click this button to install the default settings in all the entries for
image parameters on this page.