


42 Installation and Operation Guide
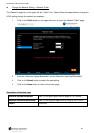
Change the Network Setting — IP Filter
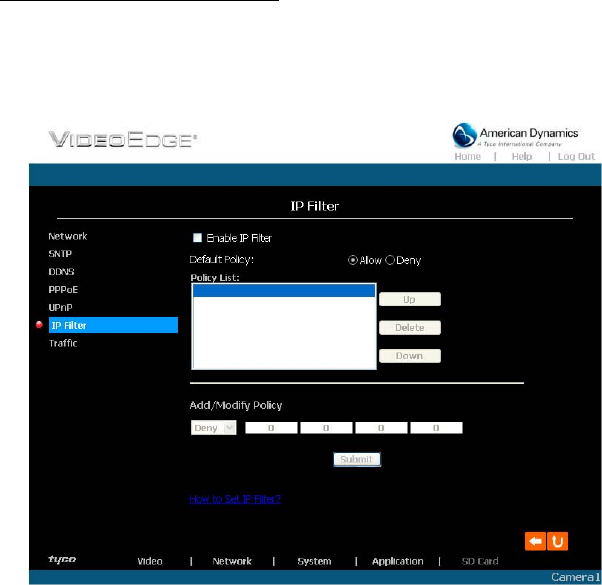
The “Network” page has, on its upper left, the “IP Filter” icon. Please follow the steps below to change the
IP Filter setting through the network as necessary.
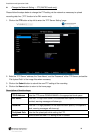
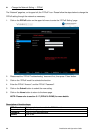
1. Click on the IP Filter button on the upper left menu to enter the “Network Setting” page.
2. Click “Enable IP Filter” to checkmark the box and activate the function.
3. Select the Default policy.
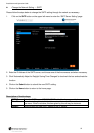
4. Set the Allow/Deny IP Filter policy and enter its IP address.
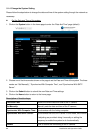
After setting the policies, they will be shown on the Policy List. You can use the “Up” or “Down” to
select a policy and use the “Delete” button to erase it.
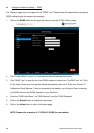
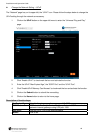
5. Click on the Submit button to submit the new setting.
6. Click on the Home button to return to the home page.
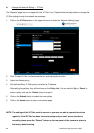
NOTE: The settings of the IP Filter must be correct or you may not able to operate the device
regularly. If the IP Filter has been incorrectly setup and you can’t access the device
normally, please press the “Default” button on the rear panel of the camera to return to
the factory default setting.