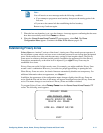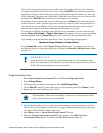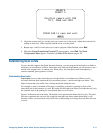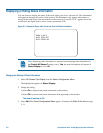
PRESETS
PRESET X
Position camera with PAN
TILT, ZOOM and IRIS
FOCUS FAR to save and exit
EXIT
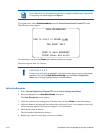
4. Adjust the camera until you see the scene you want to use as the preset. Adjust the zoom and iris
settings as necessary. When satisfied with the scene, save the preset.
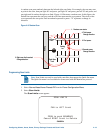
5. Repeat steps 3 and 4 for each preset you want to program. When finished, select Exit.
6. When the Alarms/Areas/Home/Presets/PZ screen appears, select Exit. The Dome
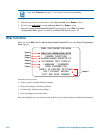
Configuration Menu appears. Continue with What To Do Next on page 4–20.
Establishing Scan Limits
If your controller supports the Quick Set menu function, you can program left and right scan limits to
automate your surveillance activities. Once these scan limits are programmed you can choose to run a
smooth scan, stepped scan, or random scan. When active, the scan repeats until interrupted by a
camera command, preset, pattern, or alarm.
Understanding Scan Limits
Scan Limits are two points around the pan axis that define a surveillance area. When a scan is
activated, the dome pans between the two surveillance points— the left and right scan limits. This
helps to ensure that only useful video is being monitored during the scan.
For example, a dome is mounted off the edge of a building to monitor a parking lot. Part of the
observable area in this situation is a wall. By setting left and right scan limits to exclude the wall, only
the viewable area of the parking lot is monitored when a scan is active.
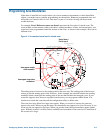
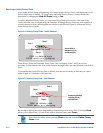
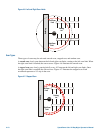
Figure 4–6 illustrates the scan limits. The dashed circle represents the domes field of view. The solid
line curve represents the scan area. By setting left and right scan limits where the building’s wall
becomes visible, you ensure that only useful video of the parking lot is being observed when the scan
is active.
Configuring Alarms, Areas, Home, Privacy Settings, Presets and Scan Limits 4–17


