


18
19
System Requirements (Minimum)
Software Installation
Downloading Your Photos - Step by Step
OS: Windows® 98/98SE/2000/ME/XP
CPU: MMX Pentium® 200MHZ equivalent or faster (
Pentium® III 500 MHz for PhotoSuite5™)
Memory: 32MB minimum (64MB recommended for PhotoSuite)
SVGA video card w/2MB VRAM, 800x600 screen display, 16 bit High color
200 MB available hard disk space (if installing PhotoSuite)
Internal USB Port
If you are using Windows 98, you must install drivers before connecting the camera to your PC. Insert the CD-ROM
into your computer’s CD drive; it will auto-run and the install screen will be displayed. Select “Install Driver”, then
follow the directions. After installation, restart your computer. Windows 2000, ME, and XP do not require drivers,
as the camera uses the USB mass storage standard , allowing the photo files to be accessed as if they were stored on
an external hard drive. For any Windows OS, if you are not already using photo editing software you prefer, you may
install Roxio PhotoSuite® from the CD-ROM. Be sure to read the “Release Notes” completely, noting any tips or
potential issues relevant to your PC configuration and OS.
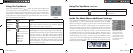
1. Be sure the driver has been installed first if you are on Windows 98/98SE.
2. Turn on the camera and connect the supplied cable to the camera’s USB jack (open the
connector cover on the strap side of the camera), then directly to your computer’s main USB
port-do not use front panel/keyboard USB ports or unpowered “hubs”.
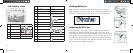
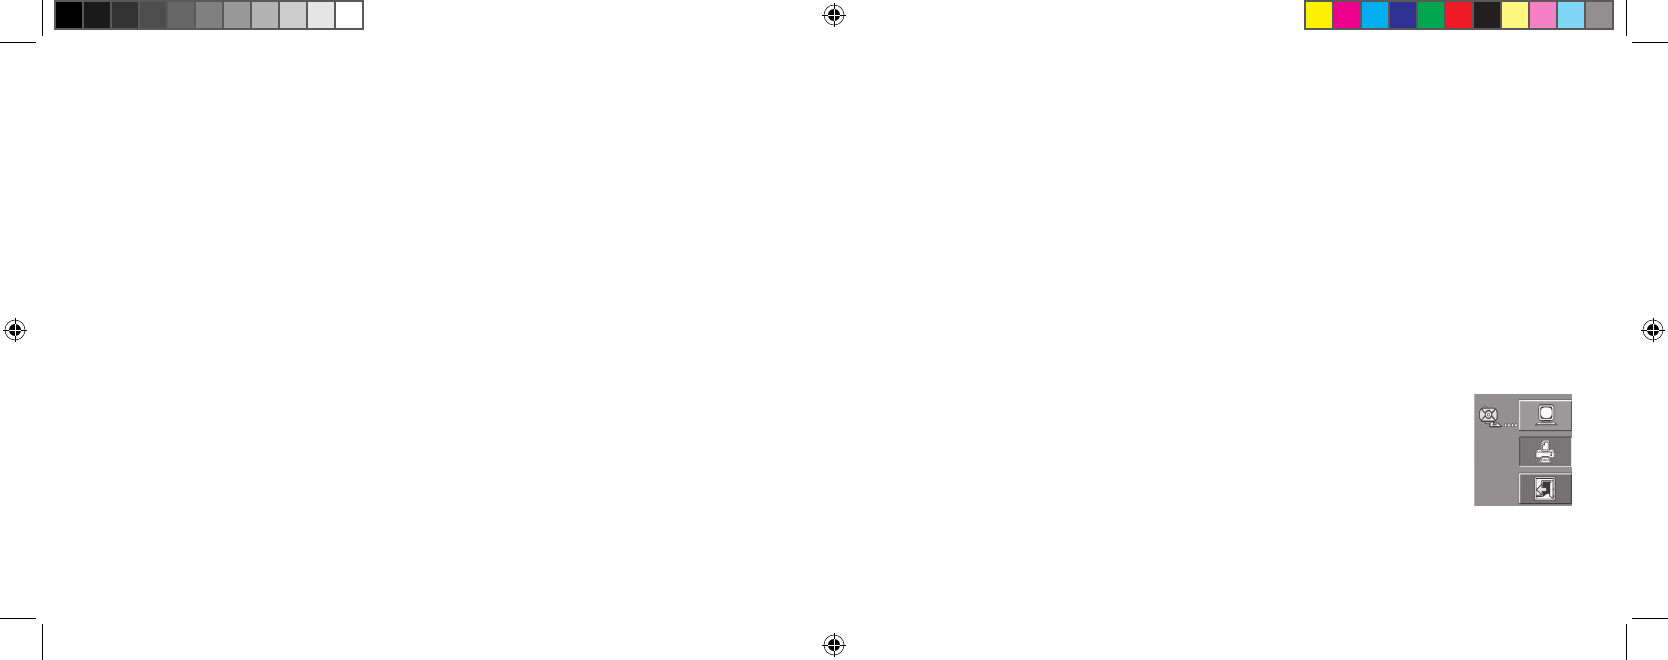
3. The camera will display the Transfer screen, with the PC icon highlighted. Press “OK”, the
display will change to “Mass Storage”. If not, close all open programs, disconnect the camera,
restart your computer and try again.
Download
Screen
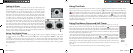
Movie Mode-Operation and Menus continued
In movie mode, all features and menu options are identical to those in
normal still photo mode with these exceptions:
• No scene preset options are available (landscape, portrait, etc).
• No rec mode options (3x sequence).
• The image size options available are
320x240 or 160x120. This sets the movie resolution per frame.
Changing to 160x120 resolution will provide 4x more recording time than 320x240, but at lower
quality. Frame rate is preset at 20 frames per second.
• No quality (file compression) options are provided.
• Before you begin recording a video, the counter in the lower right of the LCD shows the available
recording time in seconds (31”, 124”, etc).
• While shooting the video, the counter shows elapsed seconds.
• Digital zoom and macro focus are not available, flash is set to “Off”
• If the camera is powered off while in movie mode, it will return to still photo mode when turned
on again.
Note: If your PC will not play the .avi movie files in Windows Media Player, you may need to download a
newer version of the player from Microsoft.com (search for “media player download”). The movie files can also
be played back with the QuickTime Player, included with many computers, or available as a free download
from Apple.com.
11-0013 1LIM.indd 18-19 9/22/04 4:33:41 PM