


8
9
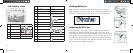
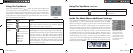
Taking A Photo
Hold the power button for 2 seconds to turn on the camera. The LCD
monitor startup screen will appear, and the red flash charge indicator will
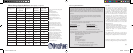
blink briefly. When you see the live image preview (1), the camera is ready
to shoot. Compose your photo on the LCD display (or use the viewfinder
if the LCD is hard to see or batteries are low). Press the shutter release half
-
way down to set the autofocus on the central area indicated by the AF marks
(2). When focus is complete, the green AF light by the viewfinder comes
on, and the AF marks on the LCD will change from red to green (you can
snap a photo while the marks are still red, but it may not be sharp). For off-
center subjects, set focus with AF area centered on the subject, then move
the camera as desired, while continuing to hold the shutter release halfway.
Press the release down all the way when you are ready to take the photo (3).
The LCD will automatically show a quick review of the photo after you take it
(the review time can be changed in the Mode Menu settings). To turn off the
LCD to conserve battery power, press the Quick View button quickly twice
(holding it down changes to Photo Review Mode).
1
2 3
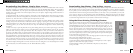
Using The Digital Zoom
Press the “T” (telephoto) key on the arrow pad to zoom in (up to 4x digitally). Pressing the “W” (wide)
key after you start to zoom in will zoom back out towards normal magnification. NOTE: At high digital
zoom settings, the live preview image may appear “coarse” or soft due to real time processing limitations. This does
not represent the actual quality of the captured image, as you will see in the quick review after the photo is taken.
Once the AF indicator turns green, this confirms that focus is locked in and your subject will be as sharp as possible
in the final photo.
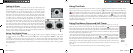
Using The Flash
Using The Macro Focus and Self Timer
The default setting is “Auto Flash” when the camera is turned on, meaning the flash will fire only if needed, in low
light conditions. Pressing the right button on the 4-way keypad
will select other options: Red-Eye Reduction
(short pre-flash to reduce pupil size for portraits ), Flash On (forces flash to fire in bright conditions-good
for filling in shadows on a person’s face with the sun behind them), and Flash Off
(will not fire in any light
conditions-useful in museums or theatres where flash is prohibited.) The icon corresponding to the current flash
setting is displayed on the LCD (see “LCD Display Icons”). NOTE: When on “normal” Auto Flash, no icon will be
seen. After taking a flash photo, there will be a delay of several seconds before the next photo may be taken, while
the flash circuits are recharging, .
Autofocus Area Frame
Macro focus allow you to photograph close up subjects in a range from approx. 4” to 24” (10-
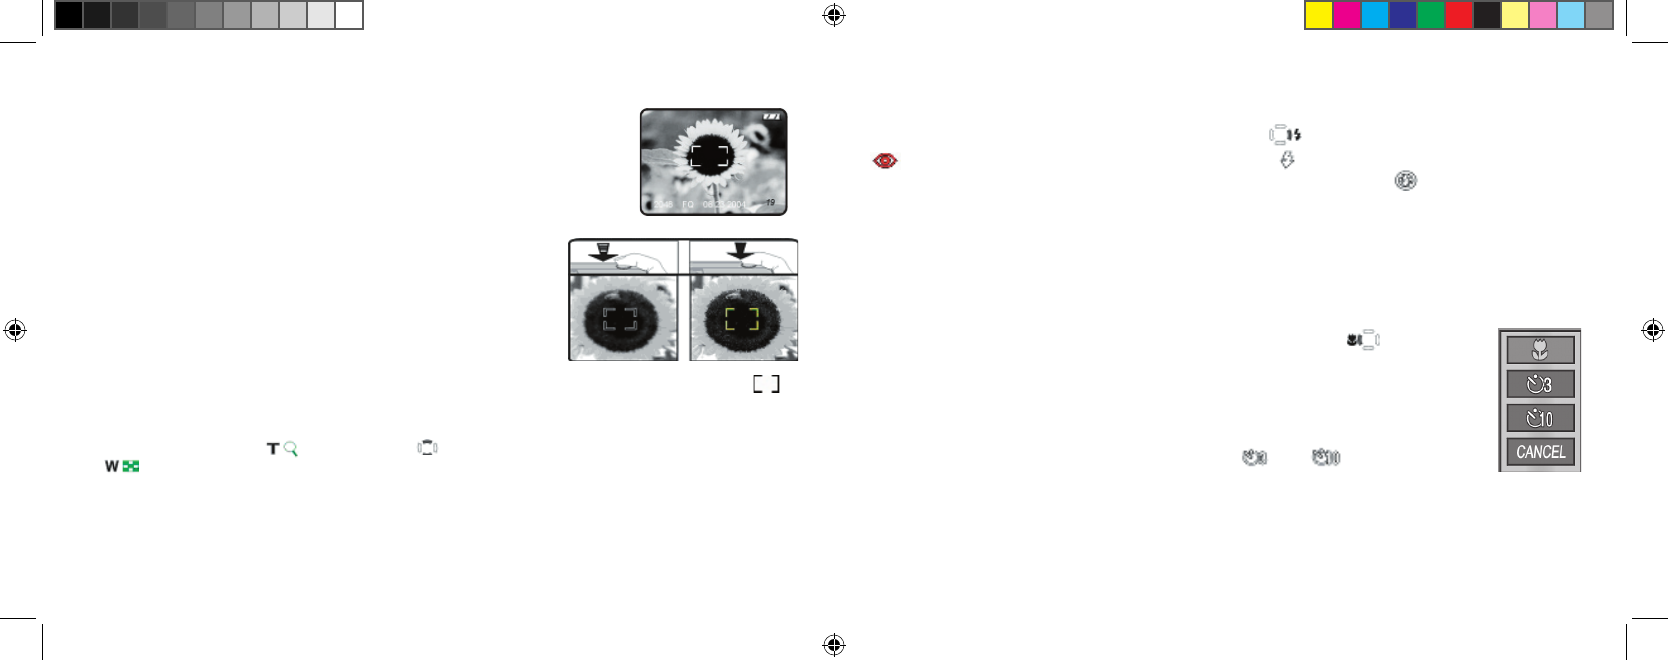
60cm). To set the camera to macro focus mode, press the left keypad button.
The macro/timer
menu will be displayed on the LCD. With the macro (flower) icon highlighted, press “OK” to select
it. The macro icon will be seen on the preview LCD. Be sure to hold the camera steady and wait for
the autofocus light when taking photos in macro mode. To return to normal focus range, press the left
key button, select macro again and press OK.
Once in the macro/timer menu, pressing the down keypad button will highlight the self timer op-
tions, which allow you to include yourself in a photo, with 3
or 10 second delays available.
Press OK with the desired time selected. With the camera set up on a tripod or sturdy level surface,
press the shutter release-the shutter will snap at the end of the time. The timer is also useful for avoid-
ing shaking the camera when taking night scene photos, as the camera will operate at slower shutter
speeds. To return to normal shutter operation, press the left key button, select the current timer , and
press OK.
Press Cancel while in the macro/timer menu to exit it without making a selection.
Macro/
Timer
Menu
11-0013 1LIM.indd 8-9 9/22/04 4:33:39 PM