


2
3
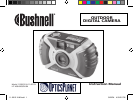
Congratulations on your purchase of the Bushnell
®
Outdoor Camera! The Outdoor
Camera is especially designed to capture the memories of your best outdoor adventures,
as it is water resistant, dust resistant, shock resistant and rubberized to provide a sure
grip. Of course, with its auto flash and close focus capabillity, it will also deliver great
photos indoors as well.
Before using the camera, please read the instructions contained in this manual and
take time to familiarize yourself with the camera’s operation and many great features.
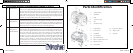
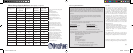
QUICK GUIDE: BUSHNELL OUTDOOR DIGITAL CAMERA 11-0013G/Y
1
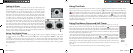
Install Batteries
& (optional)
Memory Card
Insert 2 AA alkaline or lithium batteries as indicated in the battery compartment on the
bottom of the camera. An SD card (optional) for additional photo storage may also be
installed in the card slot inside, with the notched corner on the left, towards the LCD
display.
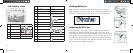
2
Turn On the
Camera
Press and release the power switch. When the live preview is displayed on the LCD, you
are ready to snap a picture. The default settings will provide optimum quality under most
conditions. However, we recommend reading the full manual to take advantage of the
many available options for different photo conditions and user preferences.
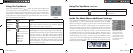
3
Set the Menu
Language and
Date/Time
Press the OK/Menu button, then the right arrow pad key to open the Mode Menu. Press
the down arrow twice to highlight “Set”, then use the right arrow to move over to the Set
menu list. Go down to “Language”, then press the right arrow. Select your language, and
press the OK button. The display returns to the Set menu. Keep pressing the down arrow
until you highlight “Date & Time” (go past “File Name”), then press the right arrow. In
the Date & Time setting screen, use the left/right arrows to select the date/time part you
want to change, then use the up/down arrows to set it. The letter at the end of the date
line sets the date format (Y/M/D first). The time can be set to a 12 or 24 hour format.
Press OK when finished setting the Date & Time.
4
Format the SD
Card (optional)
If you inserted an SD card earlier, format it before using the camera. Go to “ Format”
in the Set Menu, and press the right arrow key. Move down to “Yes” and press OK to
confirm you want to format the card. Press OK to exit all menus.
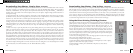
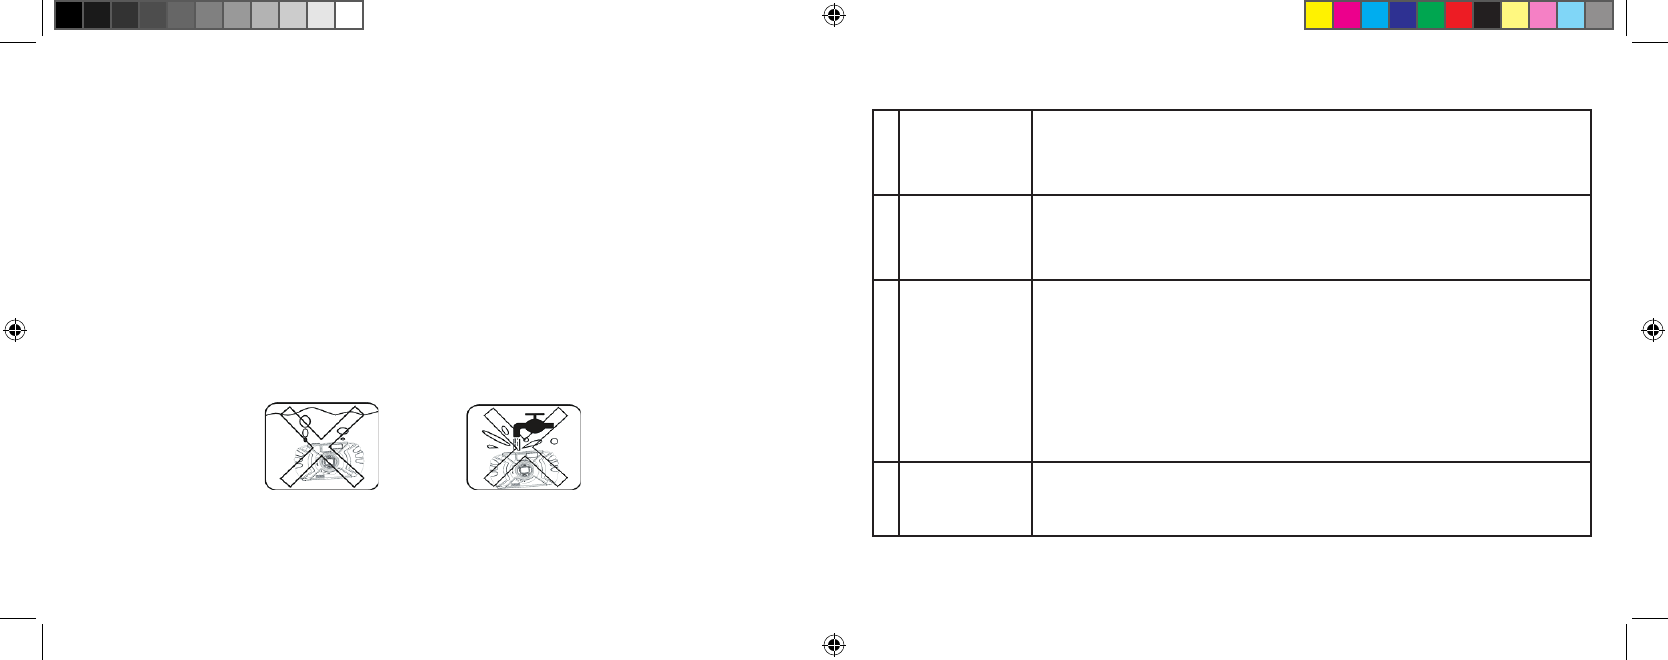
Please note that although the camera is weatherproof (JIS Grade 4 water resistance),
it should not be used underwater, submerged, or washed with a strong stream of
water. Damage due to misuse is not covered by warranty.
11-0013 1LIM.indd 2-3 9/22/04 4:33:31 PM