


14
15
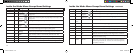
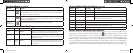
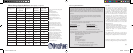
Inside the Mode Menu-Groups/Items/Settings continued
Group Item Settings Description
3: Set Language English/Spanish/
French/Deutsch/Ital-
ian/Portuguese
Selects the language displayed in all menus
Rec View Off,
1, 2, or 3 Sec. Sets duration of photo review display after a photo is taken
File Name Reset or Series File numbering for new photos after deleting all starts over at
“1” (Reset), or continues to advance from last # used (Series)
LCD
Brightness
Set to any of 7 levels Sets display brightness. Left box=dimmer, Right box=brighter.
Middle box is normal level. Press OK to set.
Date &
Time
> to go to setup. Press
“OK” once set.
Left/right keys move between fields. Up/down keys change
setting. Letter at end of date sets format: M, D, or Y first.
Video Out NTSC or PAL Affects video out signal. Set for your location’s TV system.
Rec Mode 1-Shot or 3-Shot Sets number of photos taken each time shutter release is
pressed. 1-shot is normal single shot, 3-shot will take 3 photos
in a rapid series to capture an action sequence.
Storage Auto Files are stored on SD card if inserted, internal RAM if not
SD Card Files are stored on the SD card only (must be inserted)
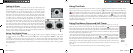
Reviewing and Deleting Stored Photos
To review (playback) your photos stored in the internal memory or SD card, press and hold the “Quick
View” button until the display shows your previous photo. Use the left/right keypad buttons to move
in backwards or forwards order through your photos. While a photo is displayed, pressing the “up”
button will begin zooming into (magnifying up to 4x) the image, useful for verifying that the photo
is sharp. Once zoomed, you may press “OK”, then use the 4-way keypad to view different areas of
the photo (press OK again to exit). After zooming in, you may press the down button to zoom back
out. Pressing the down button when the photo is displayed normally (not zoomed) will change to a
multiple photo overview (up to 9 at once), displaying thumbnail images of all photos. You can then use
the keypad to highlight a specific photo, and display it full screen by pressing the OK/Menu button. To
erase (delete) a photo during the review, briefly press (do not hold) the Quick View button. The Delete
menu will apppear, with a choice of One or All. Press the down key (select “One”), then OK to delete
only that photo. You will see a blinking “hourglass” as the photo(s) are deleted. Note that pressing the
OK button after selecting “One” or “All” photos will perform the deletion immediately, so be careful
not to select “All” if you have not transferred the photos to your PC first. When you are done review
-
ing your photos, press and hold the Quick View button to return to the live preview display.
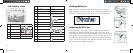
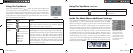
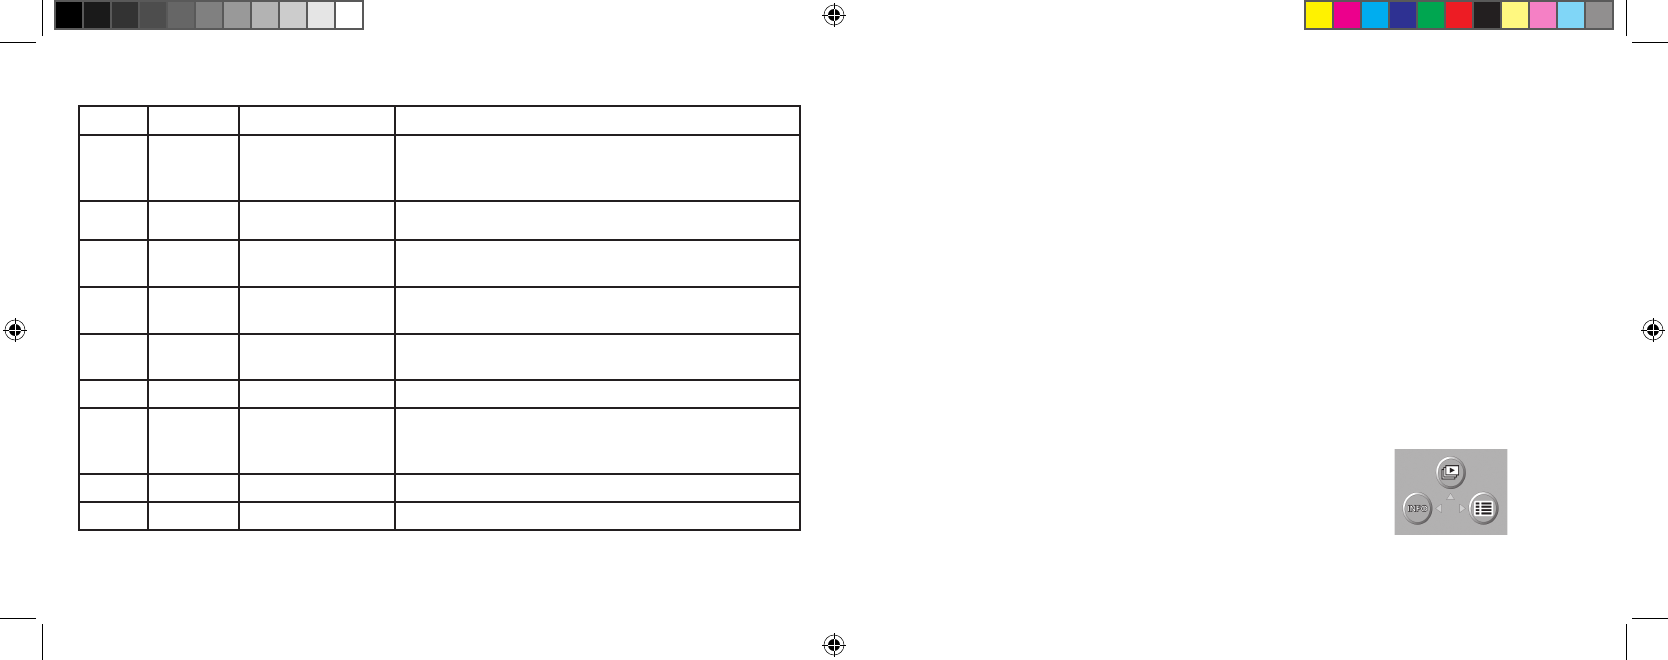
Review Menus
After pressing the Quick View button to enter Review mode, pressing
the OK/Menu button will enter the review set of menus. These oper-
ate in the same way previously described in the still photo mode menu
instructions (use the arrow pad keys to navigate to the desired menu,
press OK to confirm a setting), but with different menu items and
settings as follows:
Review Mode:
Top Menu Display
11-0013 1LIM.indd 14-15 9/22/04 4:33:40 PM