49
NOTES
• When you select the custom white balance:
- Set the custom white balance in a
sufficiently illuminated place.
- Turn off the digital zoom ( 91).
- Reset the white balance when the
lighting conditions change.
- Depending on the light source,
may keep flashing. The result will still
be better than with [ Automatic].
• Custom white balance may provide
better results in the following cases:
- Changing lighting conditions
- Close-ups
- Subjects in a single color (sky, sea or
forest)
- Under mercury lamps and certain
types of fluorescent lights
• Depending on the type of fluorescent
light, optimal color balance may not be
obtained with [ Fluorescent] or
[ Fluorescent H]. If the color looks
unnatural, adjust it using [ Automatic]
or [ Custom WB].
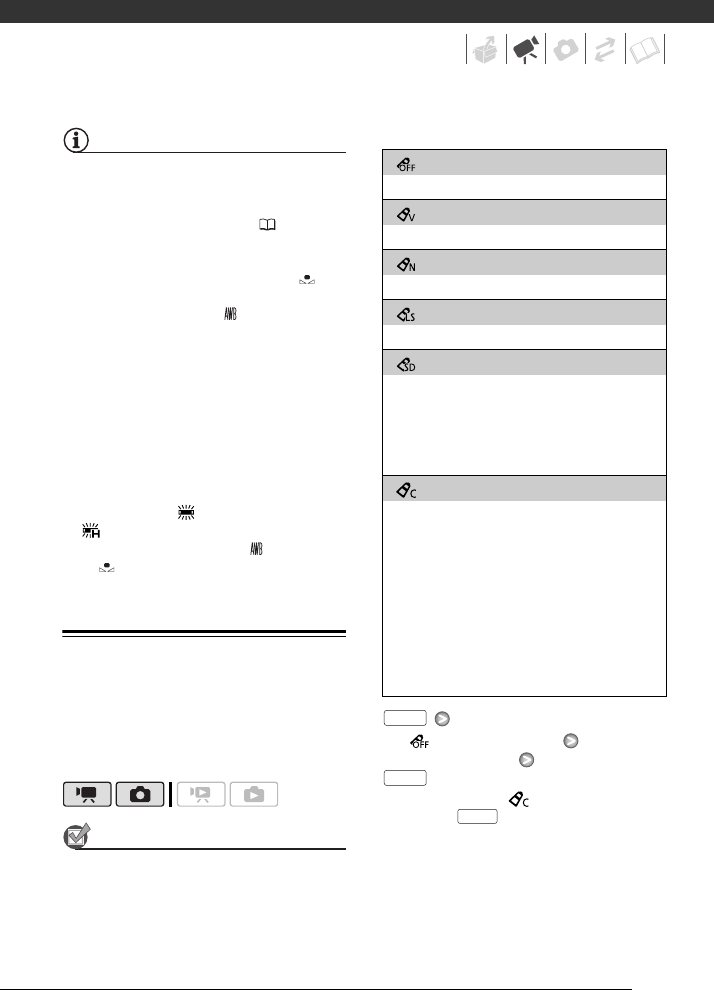
Image Effects
You can use the image effects to
change the color saturation and
contrast to record movies and photos
with special color effects.
POINTS TO CHECK
Select a recording mode other than the
Special Scene recording programs.
Options
Default value
[ Image Effect Off]
Desired option*
* When you select [ Custom Effect], do
not press and continue instead with
the following procedure.
[ Image Effect Off]
Records with no image enhancing effects.
[ Vivid]
Emphasizes the contrast and color saturation.
[ Neutral]
Tones down the contrast and color saturation.
[ Low Sharpening]
Records subjects with softened outlines.
[ Soft Skin Detail]
Softens the details in the skin tone area for a
more complimentary appearance. To obtain the
best effect, use this setting when recording a
person in close-up. Note that areas similar to the
skin color may lack in detail.
[ Custom Effect]
Allows you to adjust the color depth, brightness,
contrast, and sharpness of the image.
[Color Depth]: (–) Shallower colors,
(+) Richer color tonality
[Brightness]: (–) Darker picture,
(+) Brighter picture
[Contrast]: (–) Flatter picture,
(+) More defined light and shade
[Sharpness]: (–) Vaguer outlines,
(+) Sharper outlines
FUNC.
FUNC.
FUNC.
