


76
Before Use
Basic Guide
Advanced Guide
Camera Basics
Auto Mode / Hybrid
Auto Mode
Other Shooting
Modes
P Mode
Playback Mode
Wi-Fi Functions
Setting Menu
Accessories
Appendix
Index
Before Use
Basic Guide
Advanced Guide
Camera Basics
Auto Mode / Hybrid
Auto Mode
Other Shooting
Modes
P Mode
Playback Mode
Wi-Fi Functions
Setting Menu
Accessories
Appendix
Index
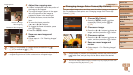
Still Images
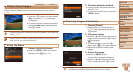
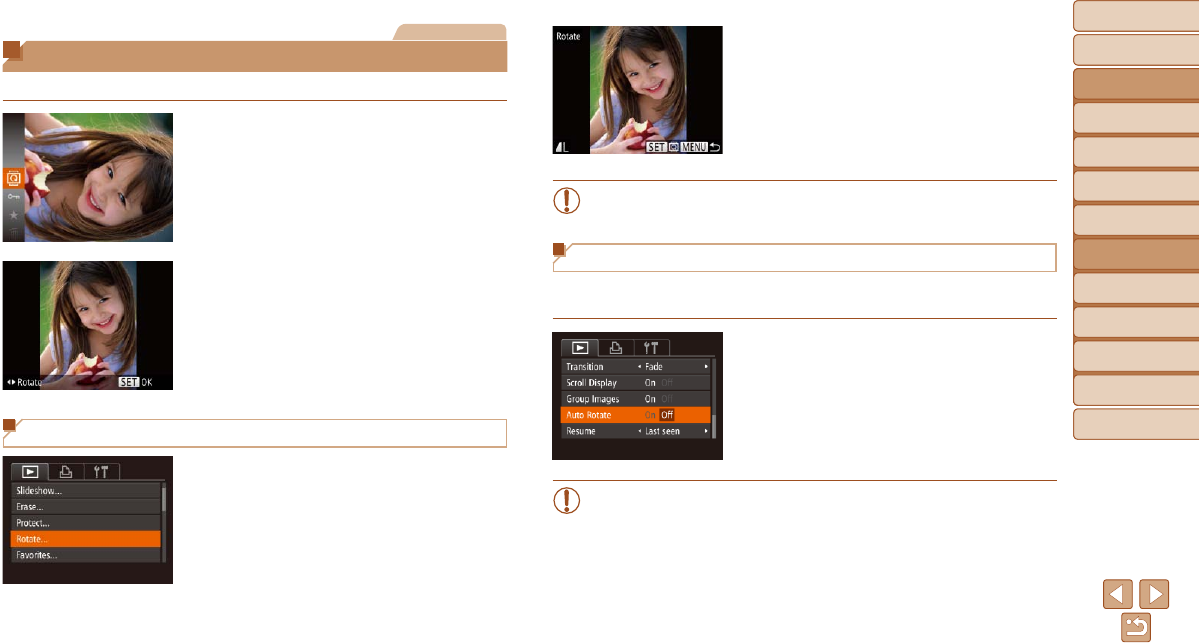
Rotating Images
Change the orientation of images and save them as follows.
1 Choose [\].
Press the <m> button, and then choose
[\] in the menu (=
21).
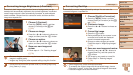
2 Rotate the image.
Press the <q> or <r> button, depending
on the desired direction. Each time you
press the button, the image is rotated
90°. Press the <m> button to complete
the setting.
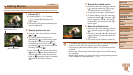
Using the Menu
1 Choose [Rotate].
Press the <n> button and choose
[Rotate] on the [1] tab (=
22).
2 Rotate the image.
Press the <q><r> buttons to choose an
image.
The image is rotated 90° each time you
press the <m> button.
To return to the menu screen, press the
<n> button.
•Rotation is not possible when [Auto Rotate] is set to [Off] (=
76).
Deactivating Auto Rotation
Follow these steps to deactivate automatic image rotation, which rotates
images based on the current camera orientation.
Press the <n> button, choose [Auto
Rotate] on the [1] tab, and then choose
[Off] (=
22).
•Images cannot be rotated (=
76) when you set [Auto Rotate] to
[Off]. Additionally, images already rotated will be displayed in the
original orientation.
•In Smart Shufe (=
71) mode, even if [Auto Rotate] is set to
[Off], images shot vertically will be displayed vertically, and rotated
images will be displayed in the rotated orientation.