2.3 Connecting to the Digital Camera
Refer to the Retinal Camera Operation Manual for the attachment procedures for the retinal camera and
digital camera. Load a CF card into the digital camera.
Use the supplied interface cable to connect the camera and PC. If the cable is not long enough, do not use a
USB hub. Instead, obtain an extension cable. The maximum allowable length of the USB cable is 5 m.
Turn on the retinal camera. Do not switch the retinal camera to retinal image observation mode.
The standard settings for the digital camera (EOS D series) are shown in the table below.
Setting Item Standard Setting
Shooting mode Manual (M)
Drive mode Off
ISO speed 400
Shutter speed 1/60 sec
White balance Flash
Auto power off OFF
Quality (Recording size) User selected
Quality (Compression ratio)
User selected
Turn on the digital camera.
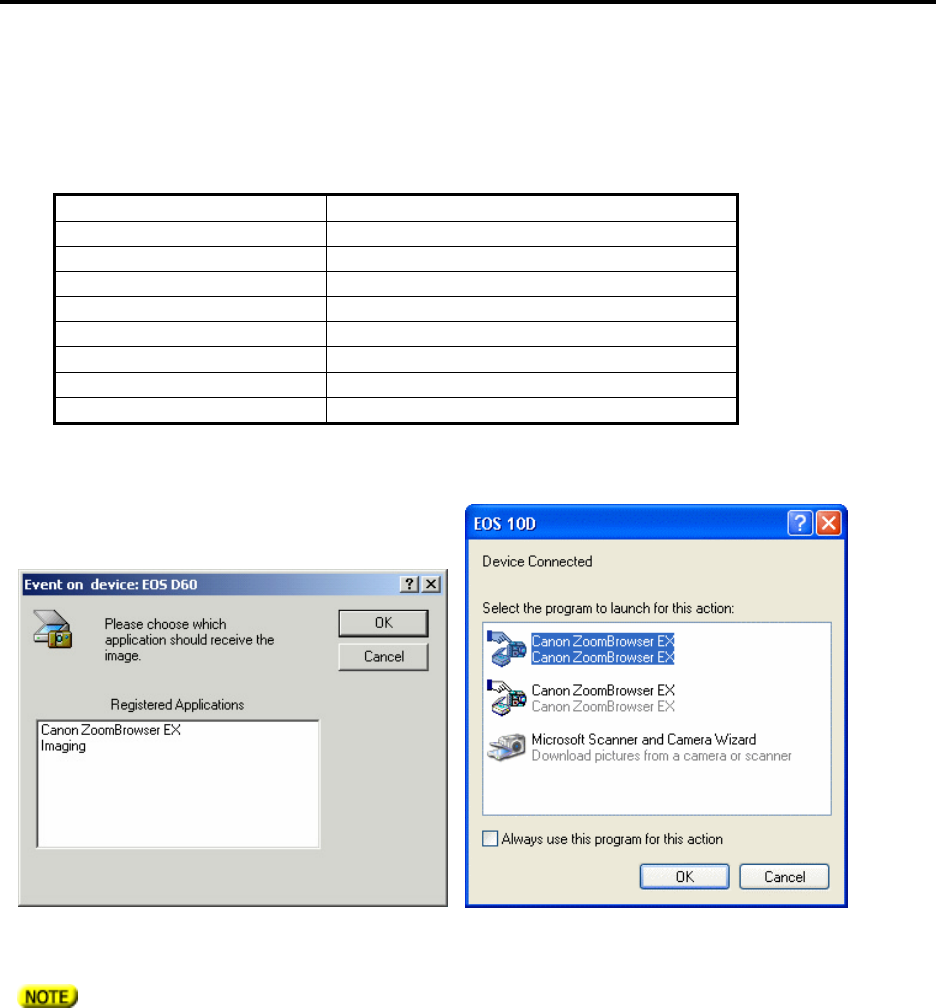
The Event on Device window opens. Click the Cancel button without selecting any registered applications.
Select the Capture tab of the CR-DGi Image Viewer, and then click the Connect button.
The connection was made properly if the connection status changes from “Not connected” to “Connected”.
The connection cannot be made when pressing the Connect button if the retinal camera is in retinal image
observation mode. Be sure to always click the Connect button from the eye front observation mode.
In Windows XP, the Canon ZoomBrowser may start without opening the event window for the device when the
digital camera is turned on. In this case, exit the Canon ZoomBrowser.
