


Preparation
34
E
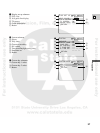
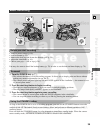
1. Open the camera menu and select SYSTEM.
2. Select D/TIME SET.
• The year display starts to flash.
3. Turn the IRIS/SELECT dial up and down to change the year. Press the dial in to move to
another part of the display.
• Once you move from the year, the next part of the display starts flashing.
4. Set the month, day, hours, and minutes in the same way.
5. Press the MENU button when finished, and to start the clock.
Notes:
• To make a change to part of the date and time, press the IRIS/SELECT dial in at step 3 to move to the
part to be changed. Turn the dial to make the change, then close the menu.
• The date can be set to any year between 2001 and 2031.
• If you press the MENU button in the middle of setting the date and time, you leave the menu, and the
clock starts.
• If you press the IRIS/SELECT dial in after setting the minutes you can set the date and time again from
the start.
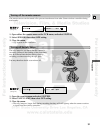
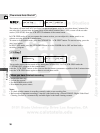
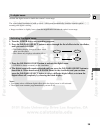
Setting the clock
D/TIME SET•• JAN. 1,2001
12:00 AM
SYSTEM
(see p. 27)
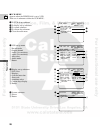
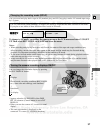
To turn it on, open the camera menu and select DISP.SET UP. Then select D/T DISPLAY, set
it to ON and close the menu.
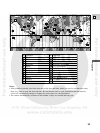
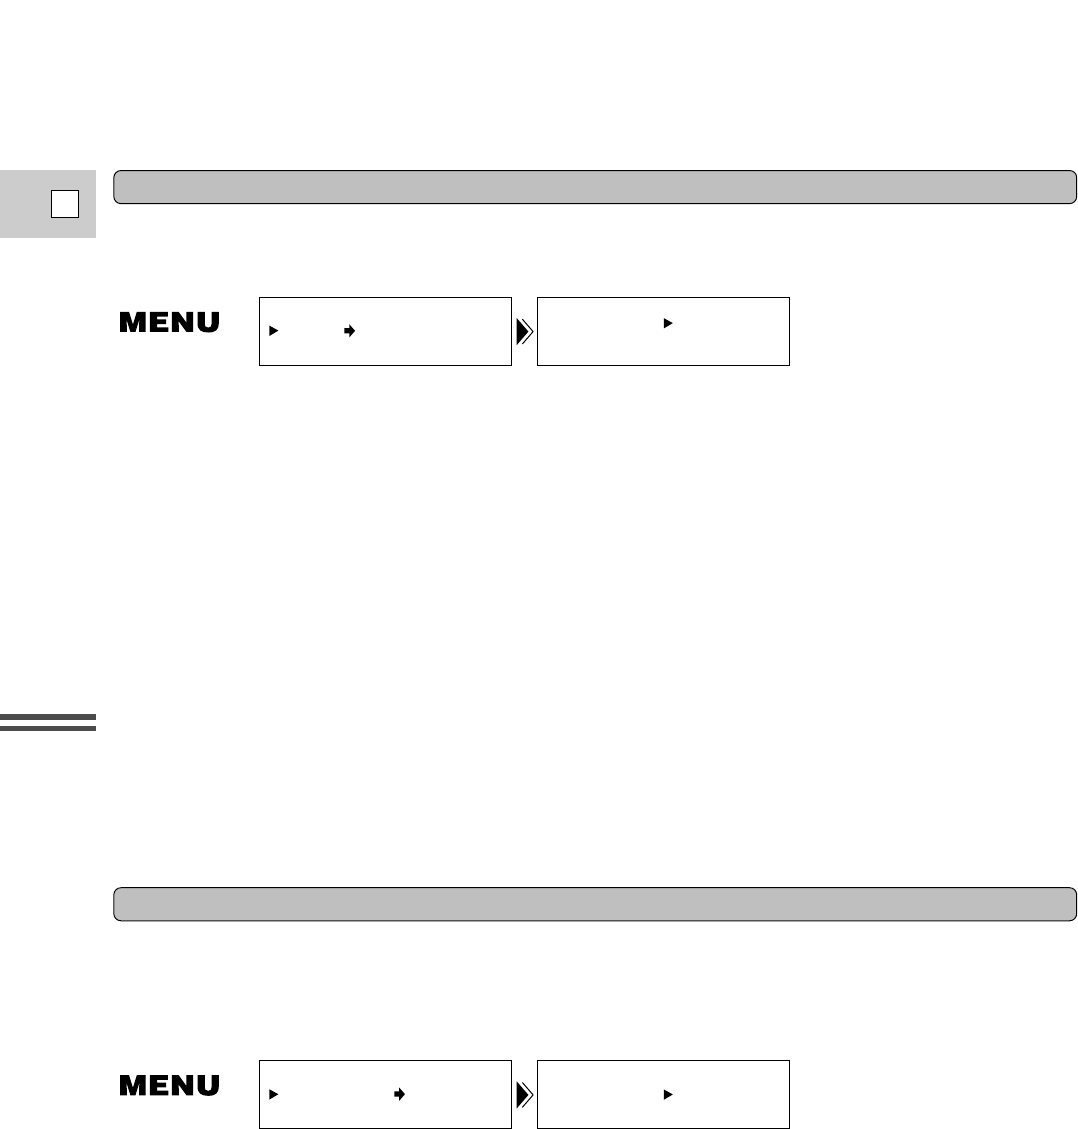
Date and time display
D/TIME SEL.• DATE & TIME
DISP.SET UP
(see p. 28)
After you set the date and time, the date/time and home time zone will be displayed for about 4 seconds
each time you turn the power on.
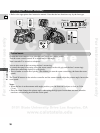
You can choose to display or hide the date and time display during recording. When the date and time
display is set to ON, the date and time show in the lower left-hand corner of the display but the time zone
disappears in about 4 seconds. The 4-second display will no longer appear when you turn on the power. It is
not automatically superimposed on your recordings.